The Plan
Considering my options for this Professional Specialism has been difficult because there are many topics I would like to explore. My first thought was to focus on Character TD. This would involve learning about hair, cloth and muscle simulation. I would also like to extend my knowledge of skin shading and multi channel displacements. These topics would help me with my Honours projects as I am planning to create a character with hair and clothes.
Cloth Simulation
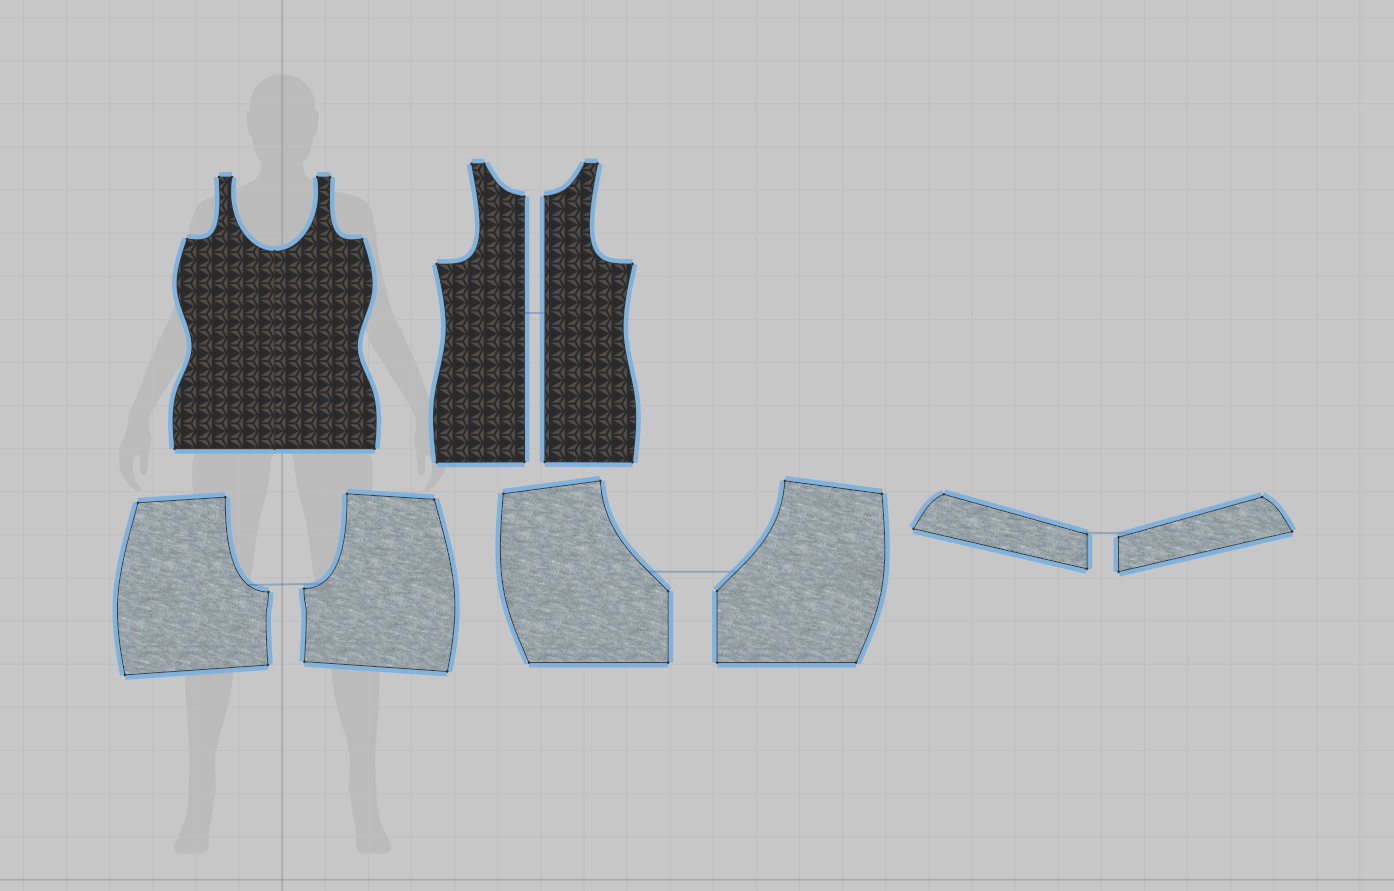
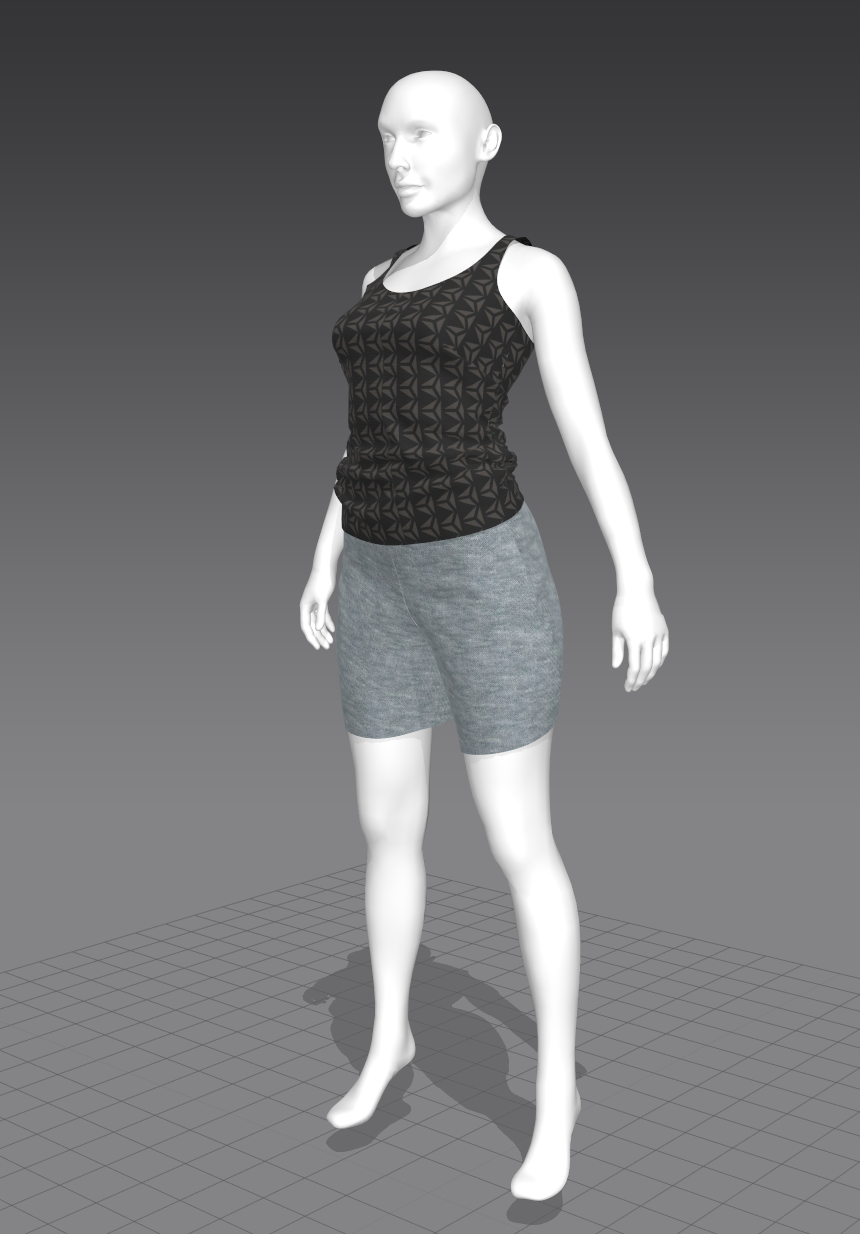
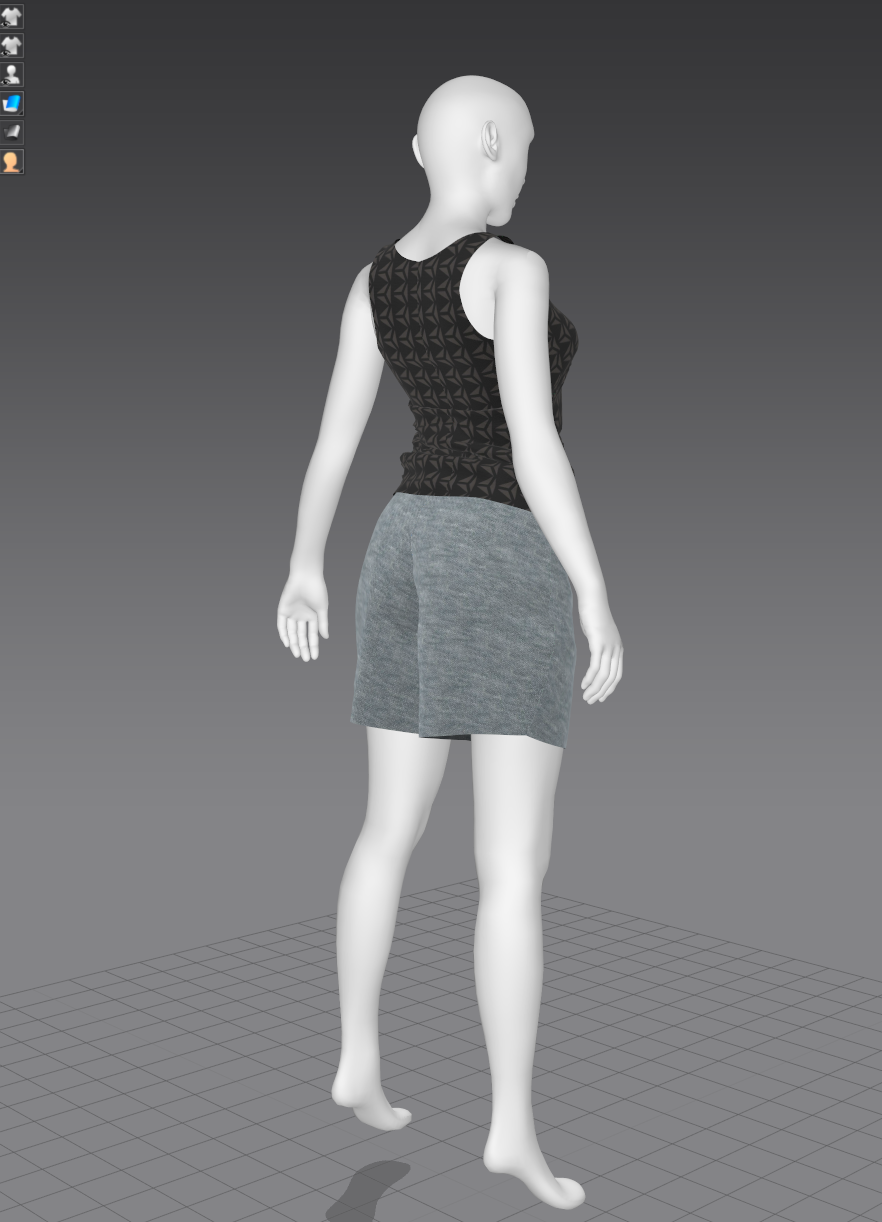
Above are some Ncloth Maya tests. I found it technically challenging to achieve a realistic cloth simulation. In Ncloth there are many variables to change and trial and improvement is key to create the right motion of simulation. I have been looking at some tutorials for Marvelous Designer and how it can be used to simulate cloth for a motion capture shot and then imported back into Maya for lighting and render. The third option, after Ncloth and Marvelous Designer, to achieve simulated cloth for my character is Houdini. Learning Houdini would benefit my career opportunities as it is used in industry both for hair and cloth. Framestore use Houdini for the hair of creatures and it was used in Aqua-man.
For these tests I used a pre-exsisting model with motion capture and then used Marvelous Designer to create a simple pair of shorts and a vest top. However an alternate pipeline would be to create the clothing in Houdini as it has a similar tool set as Marvelous Designer.
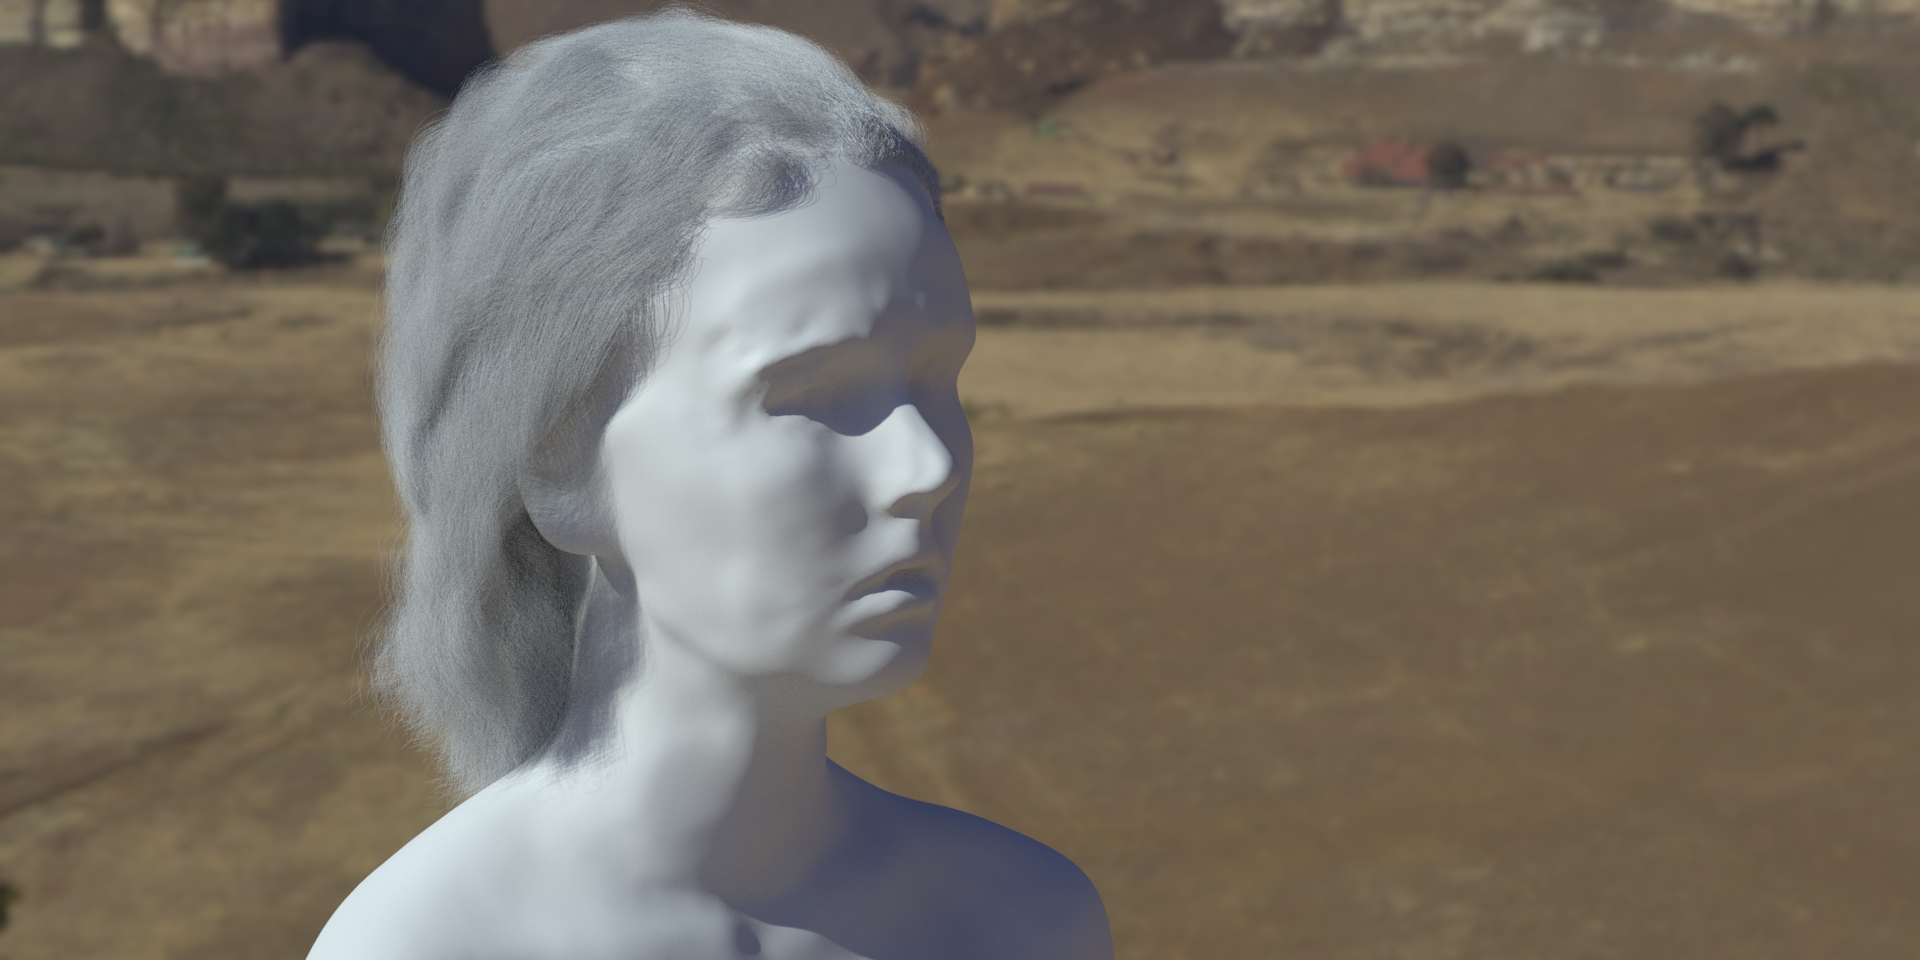
Hair Simulation
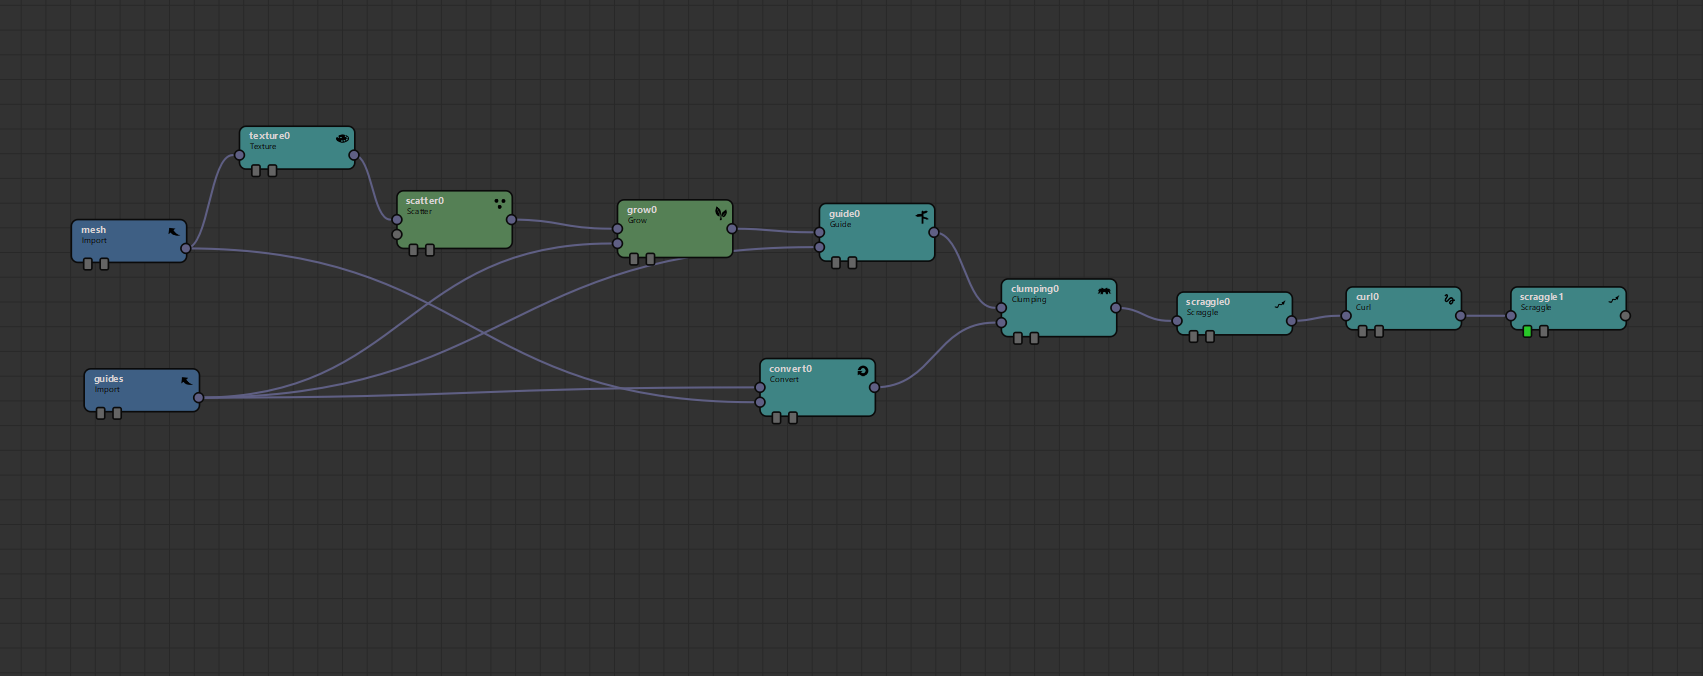
To the right are images showing my Yeti groom work on a downloaded model with pre-made hair curves. The node graph shows my workflow of the different ways to change the hair's appearance. I would need to do some more research into how to simulate the hair to flow and react with the body realistically. The next steps in my research into hair is learning how to make the curves for myself.
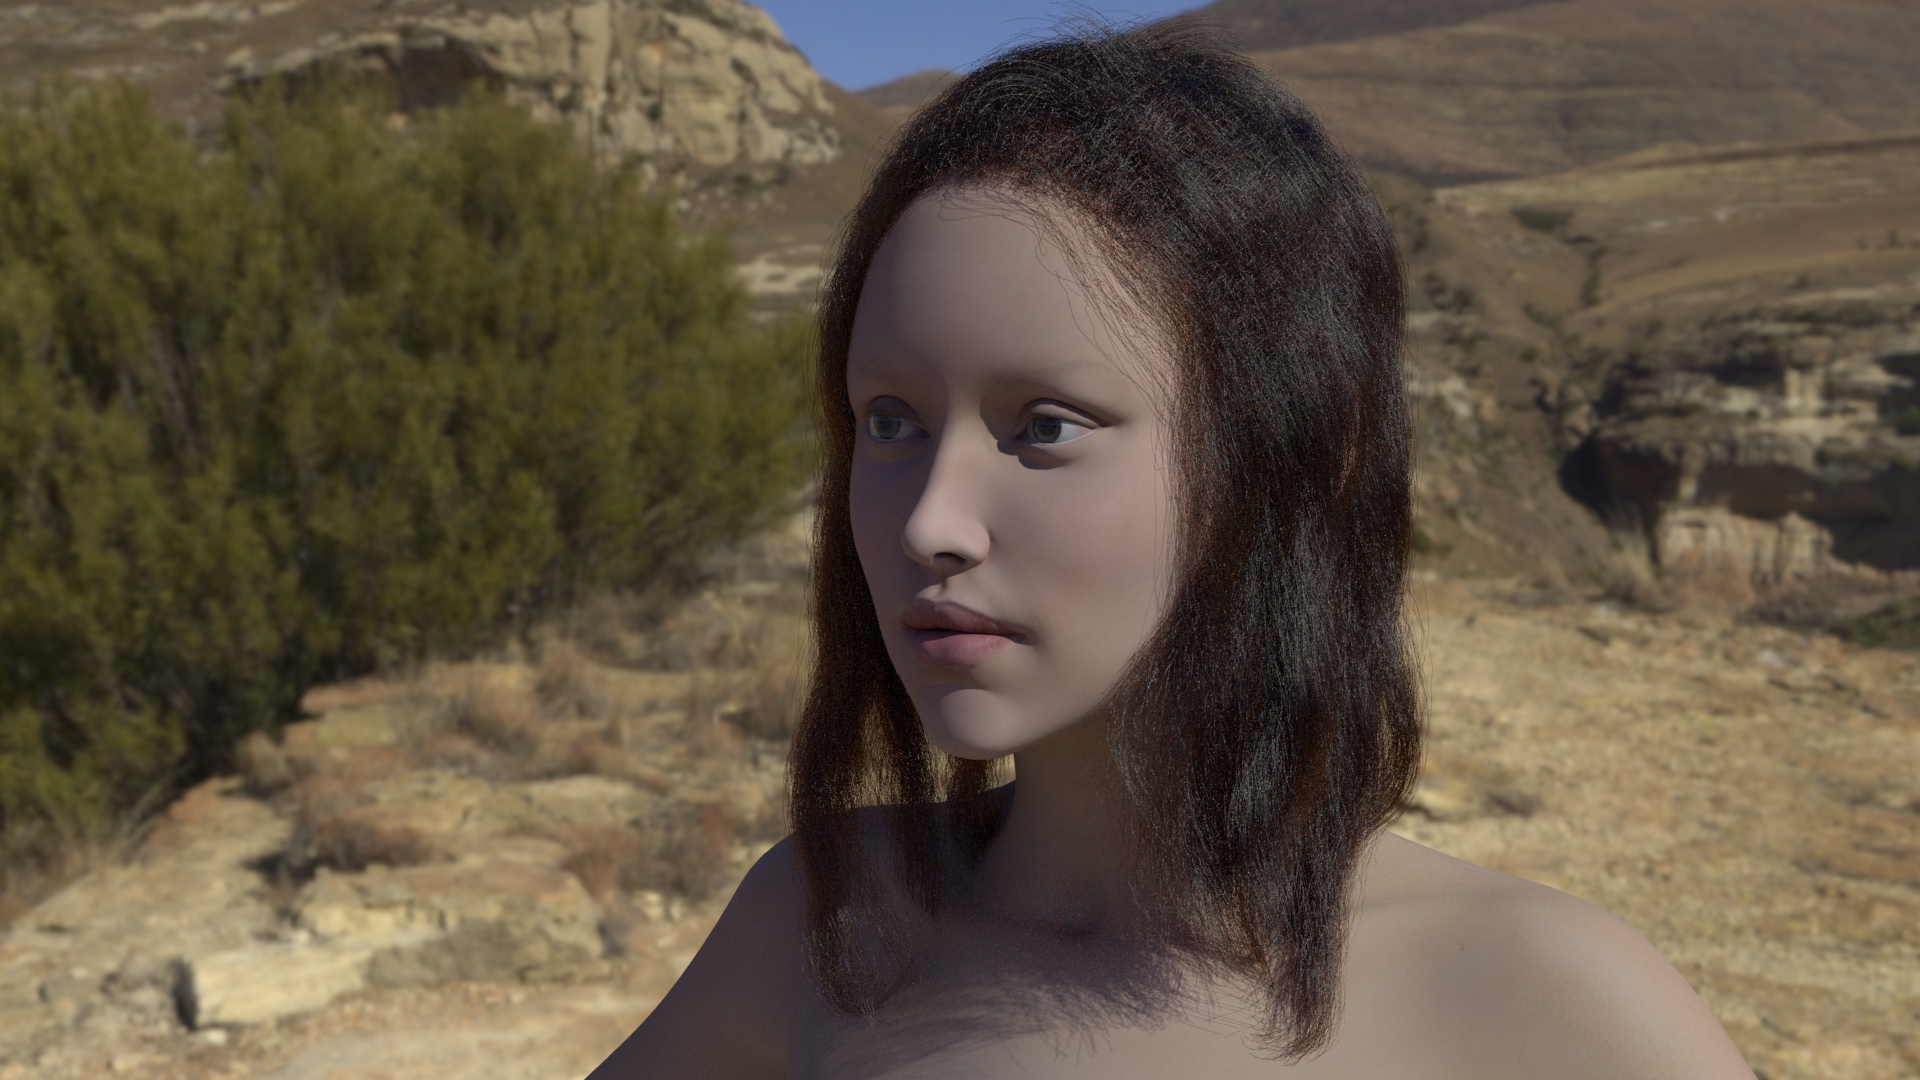
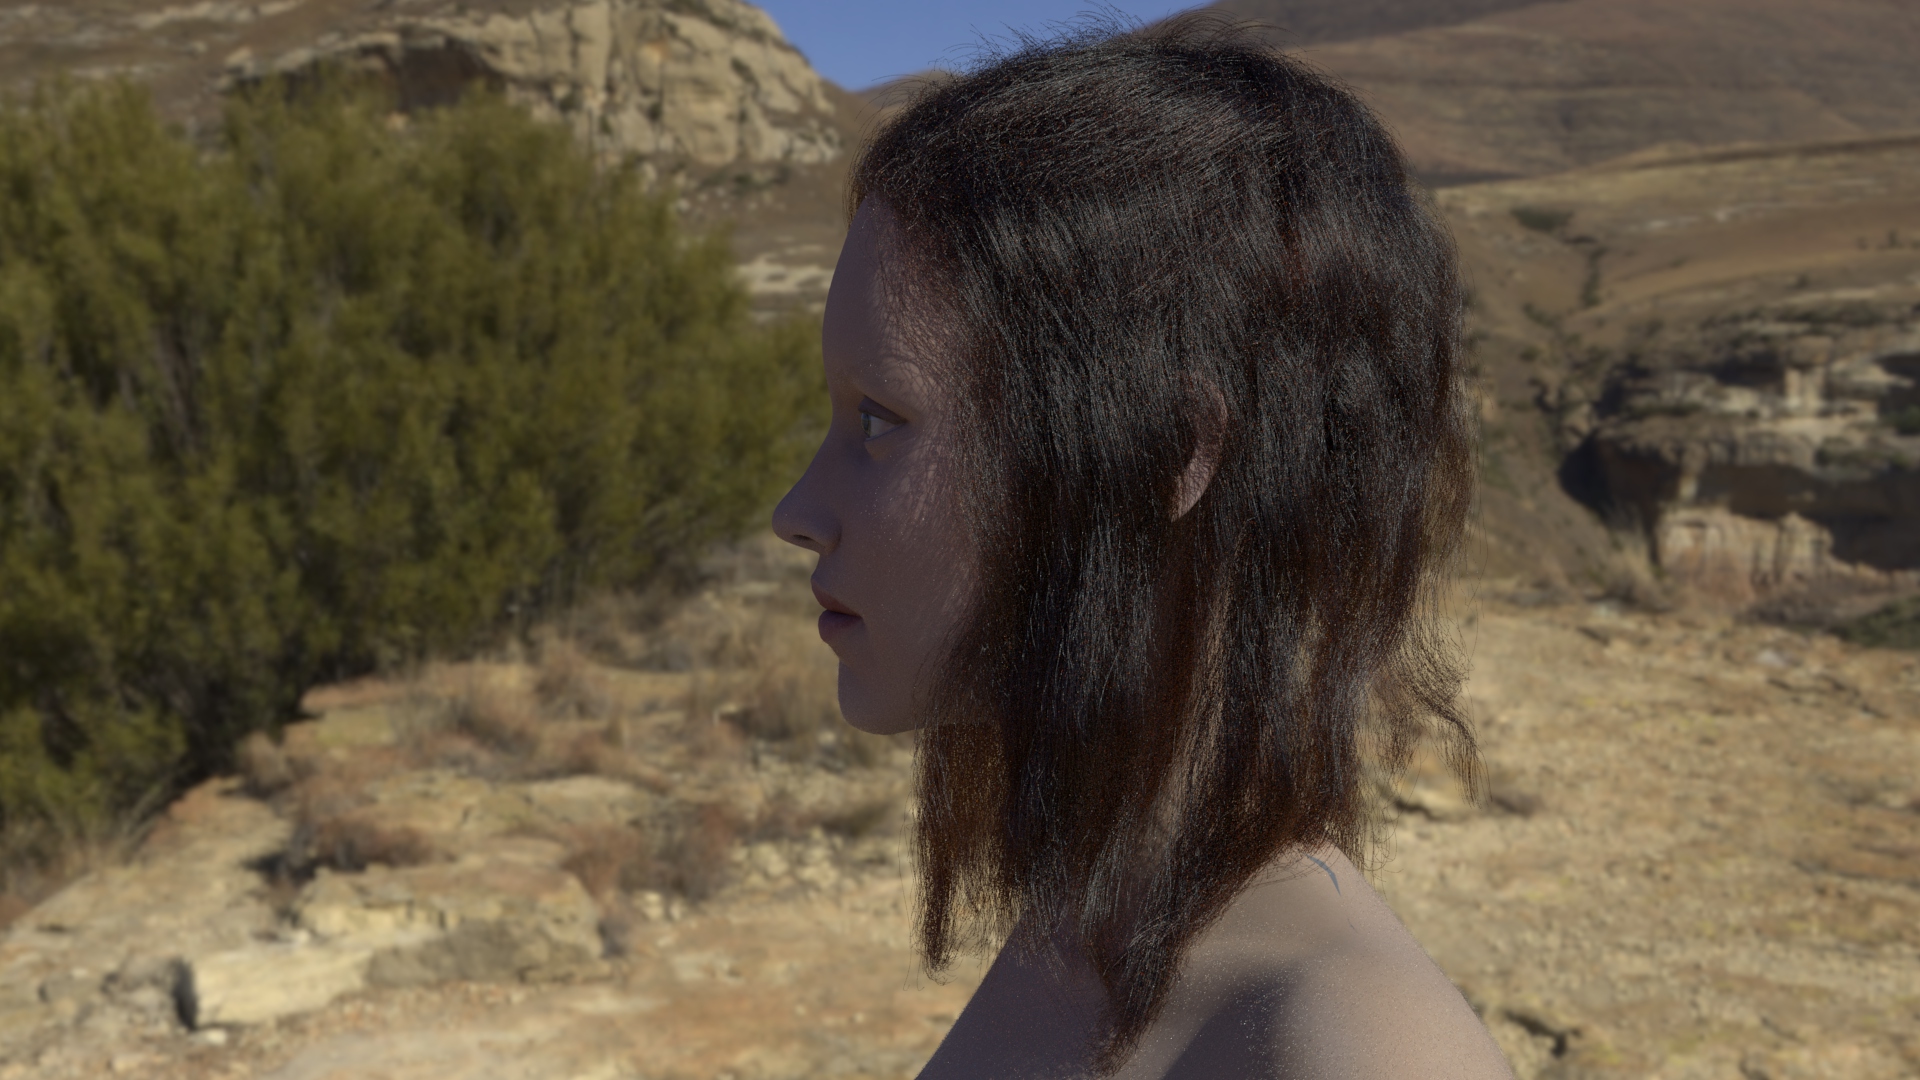
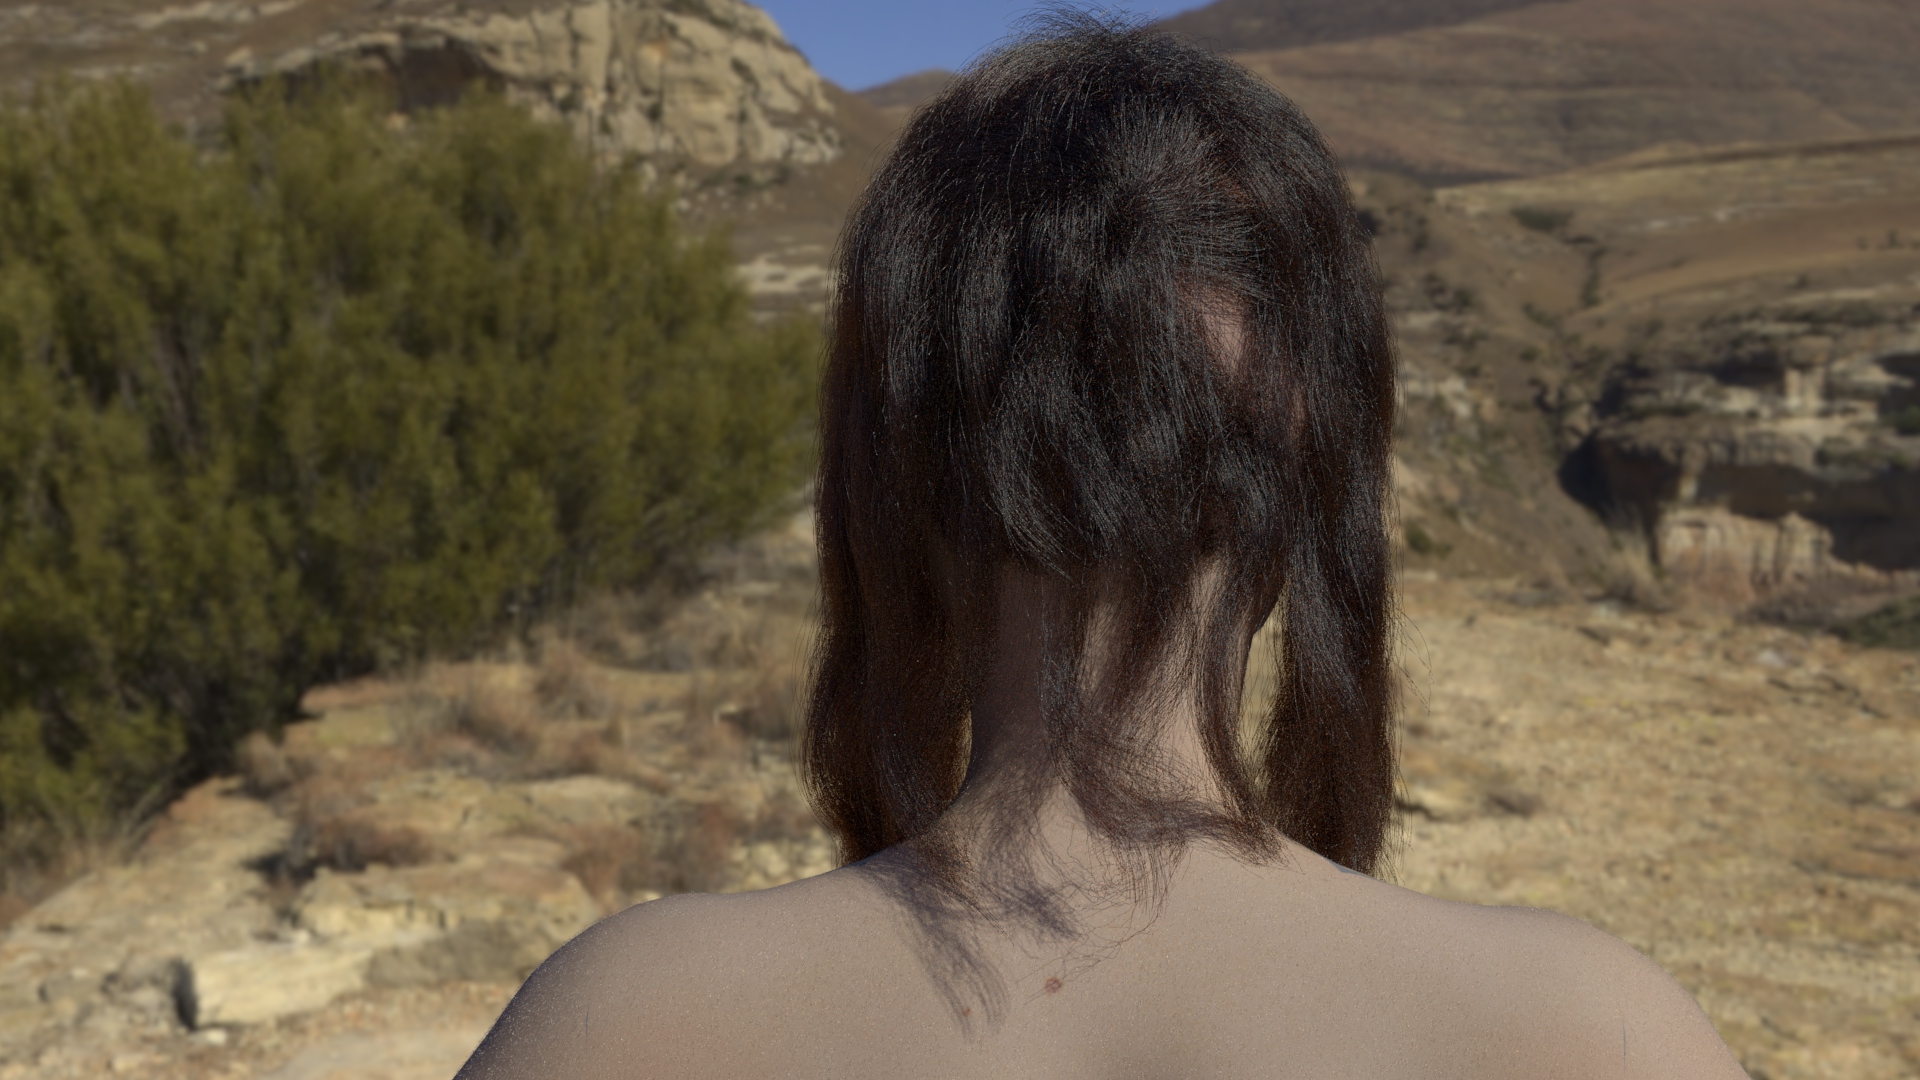
This is my first attempt at making my own curves on a pre-made head model using the Yeti groom tool kit. It needs a lot of improvement with how wavy the hair is as I was aiming for a specific hair style shown below.
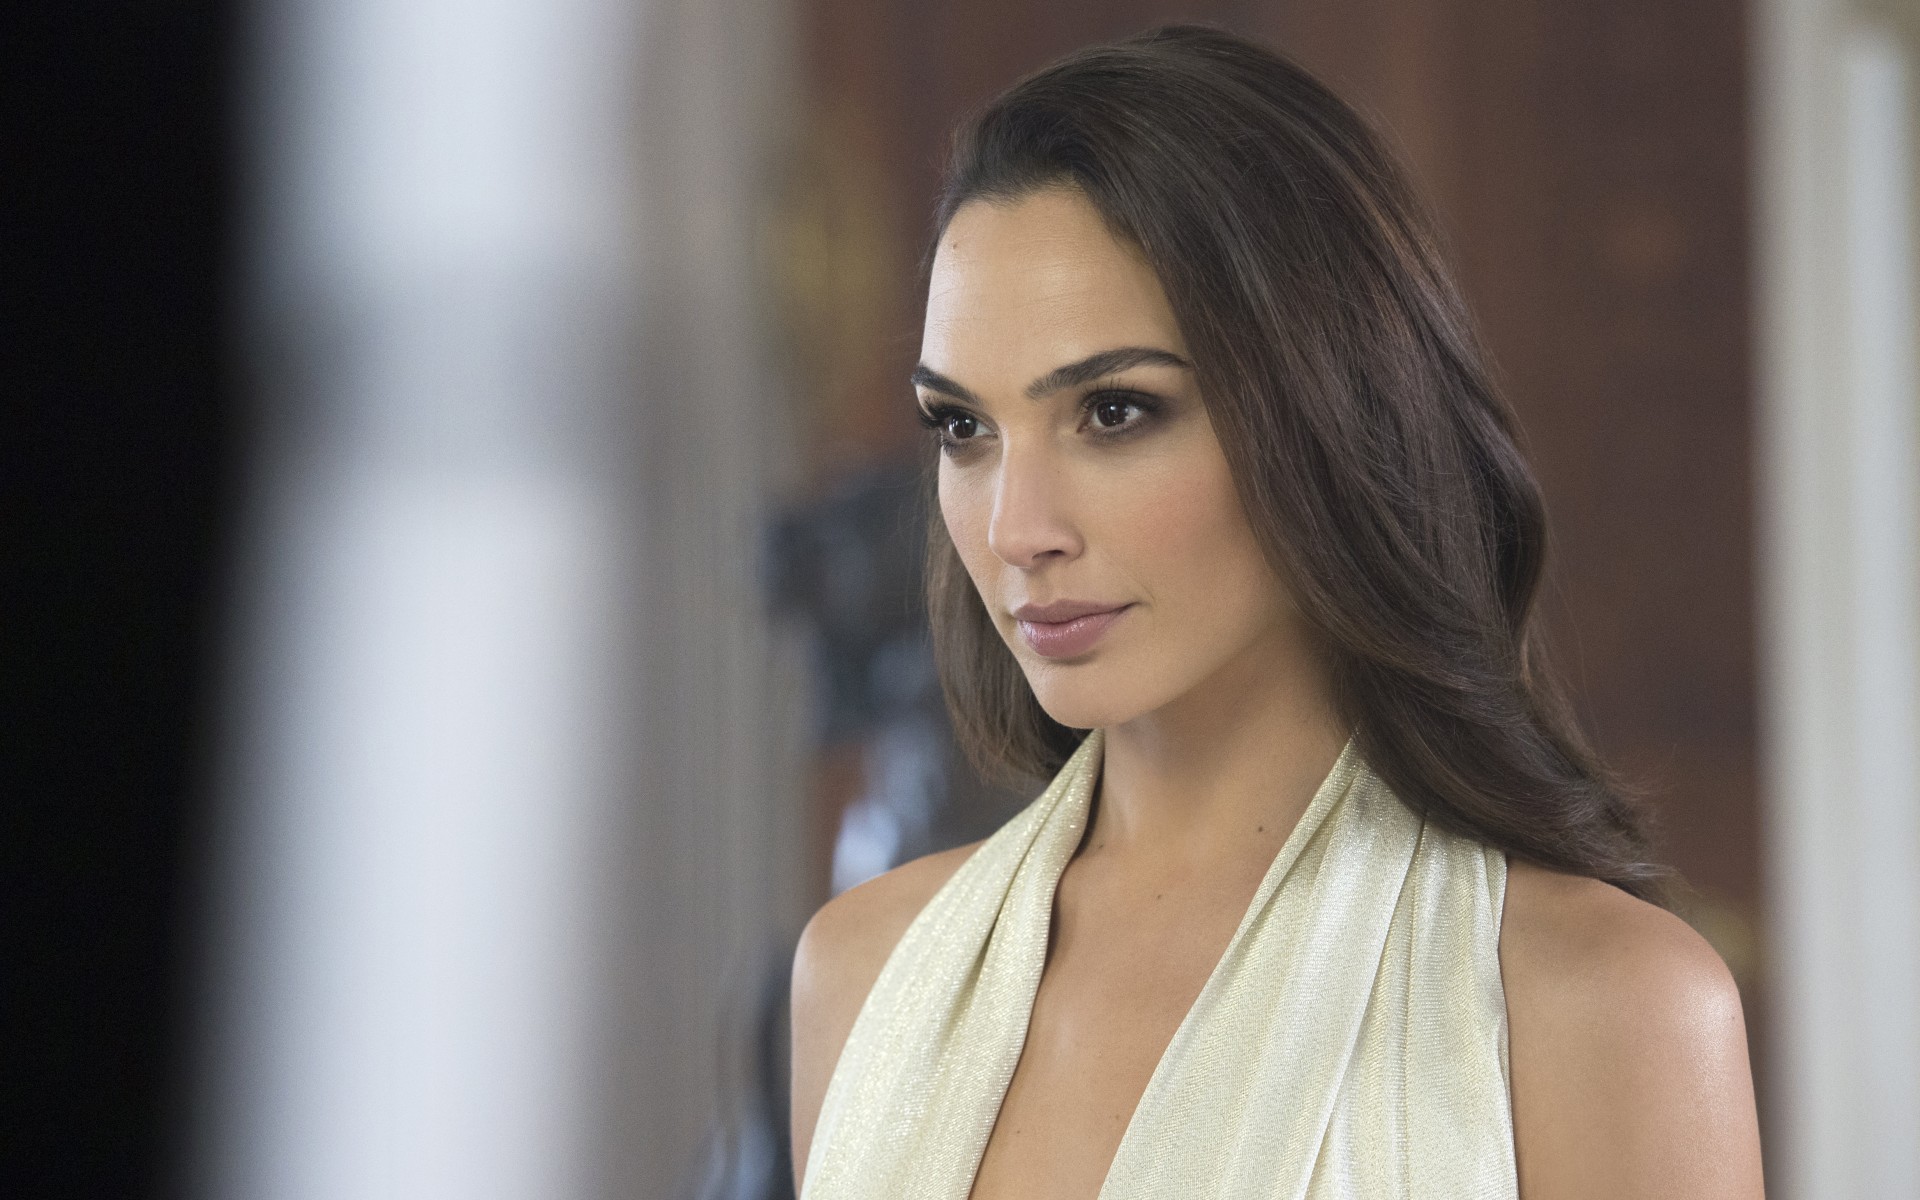
Film Anim's video on the right shows the workflow to create a realistic hair style with Maya, Yeti and Zbrush. This is the workflow I am planing to follow when I create my next hair style. Curves guide the thousands of hairs coming out of the model and the video shows the importance of having curves that represent the hairstyle.
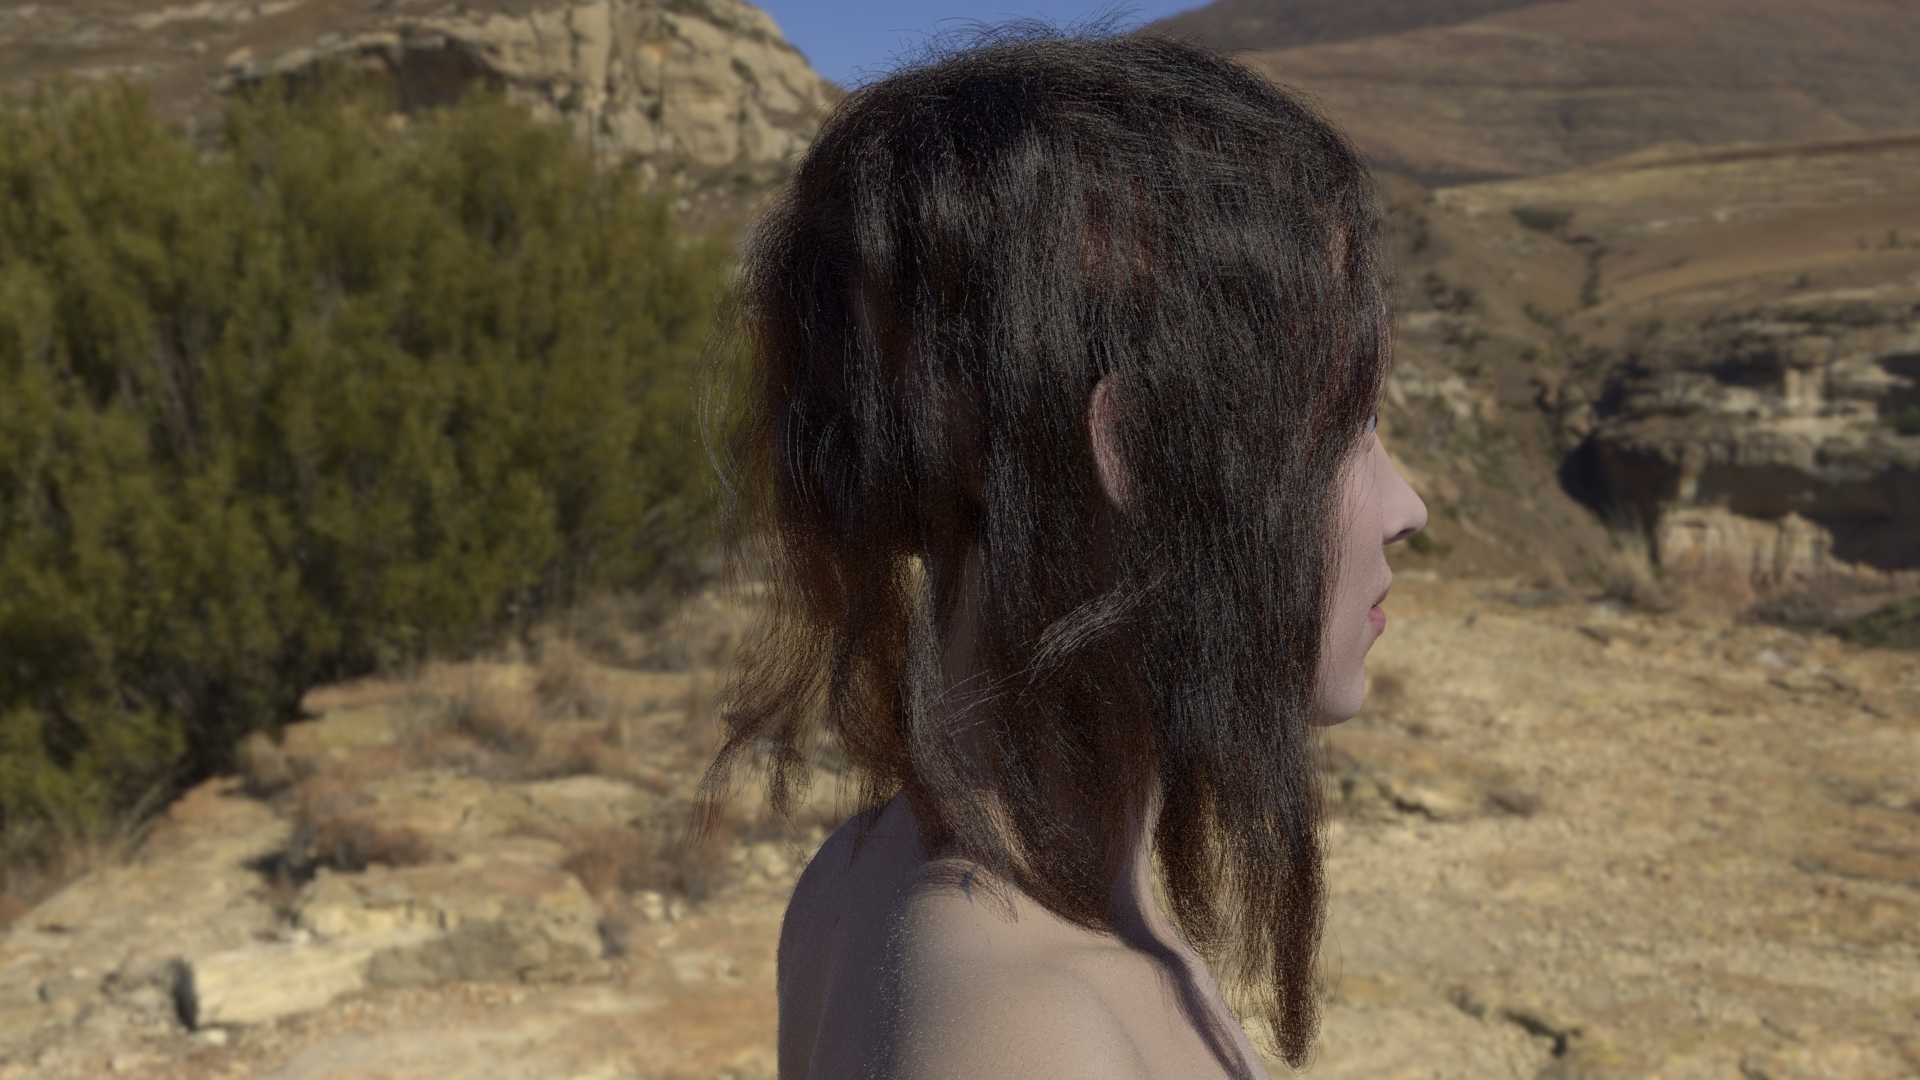
Skin Shading with 3D Scanning
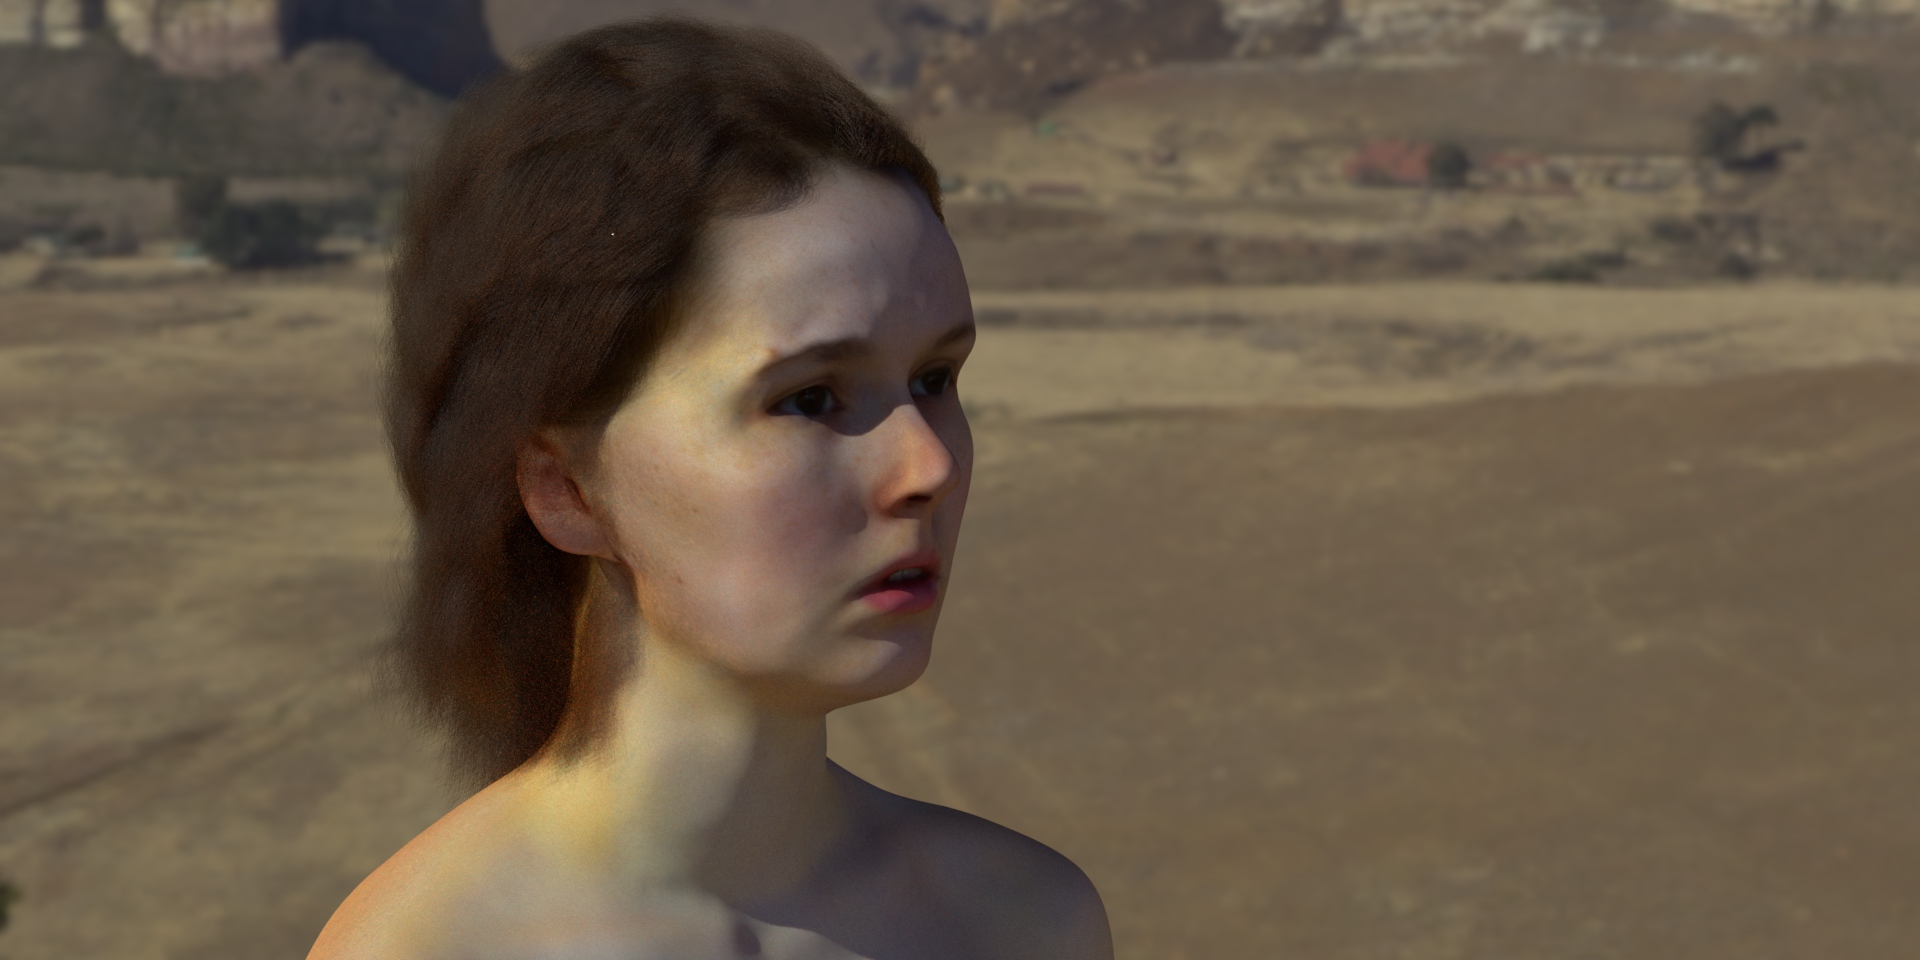
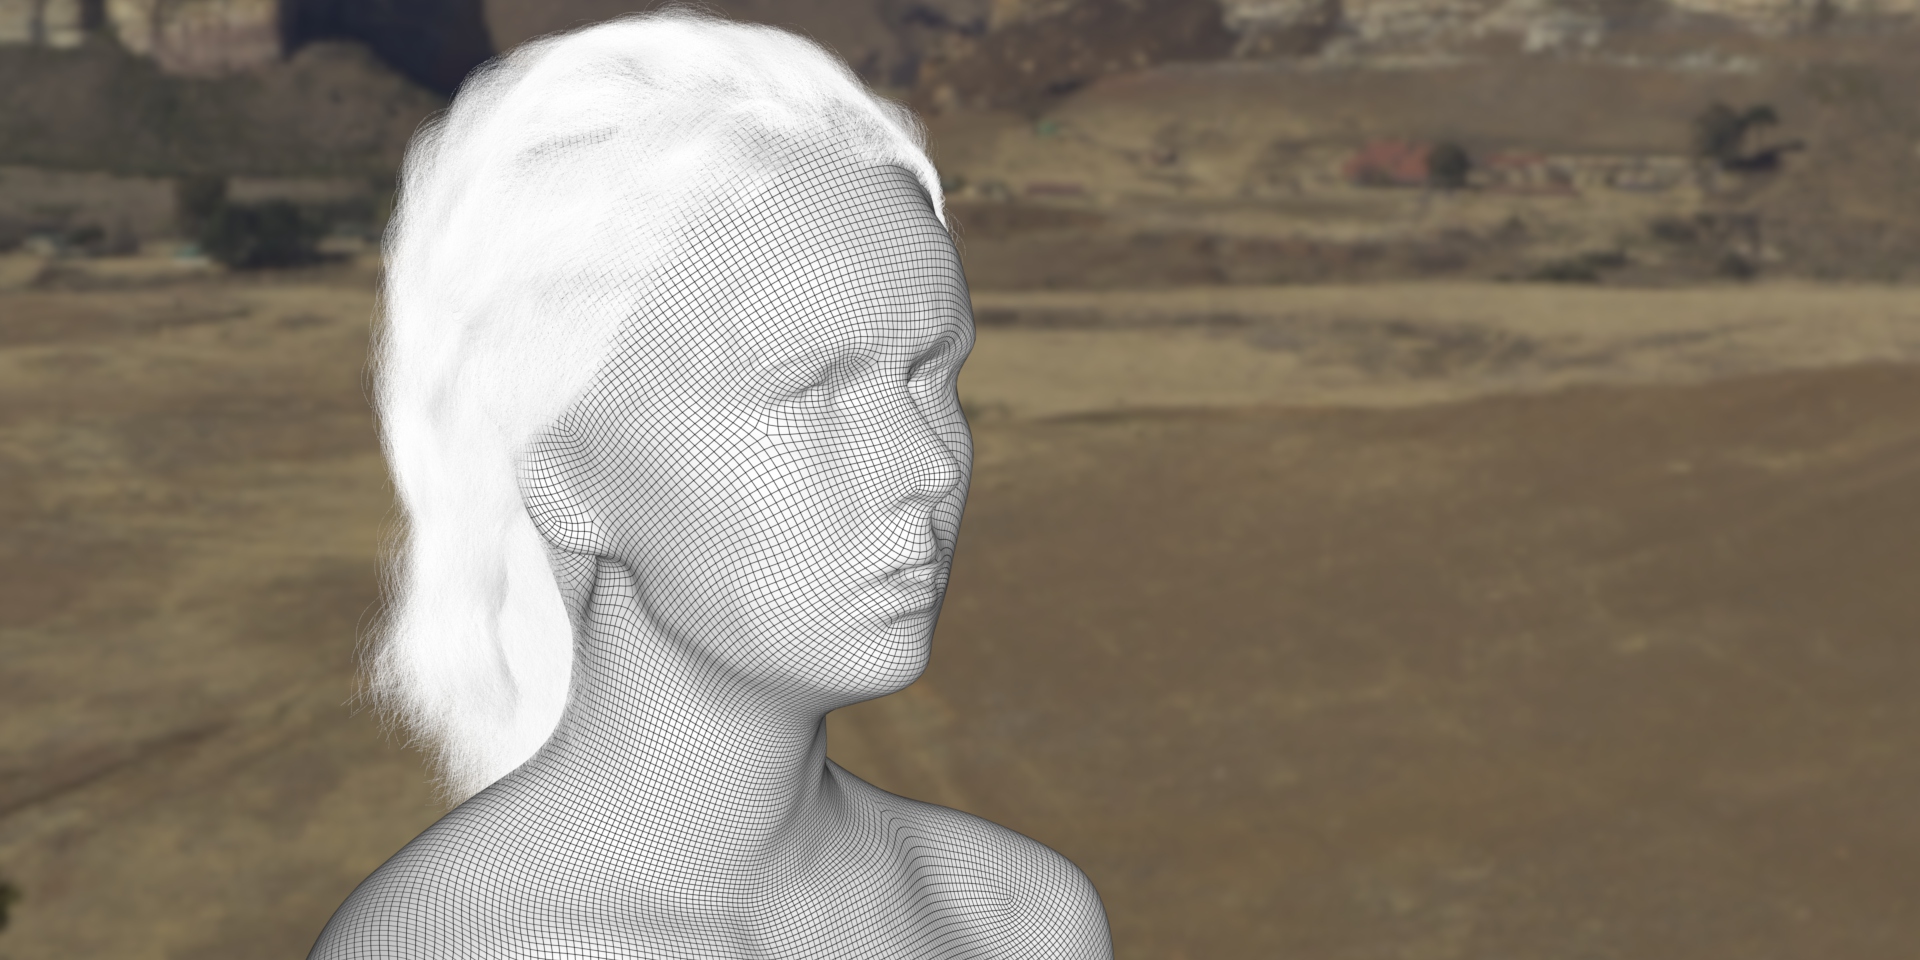
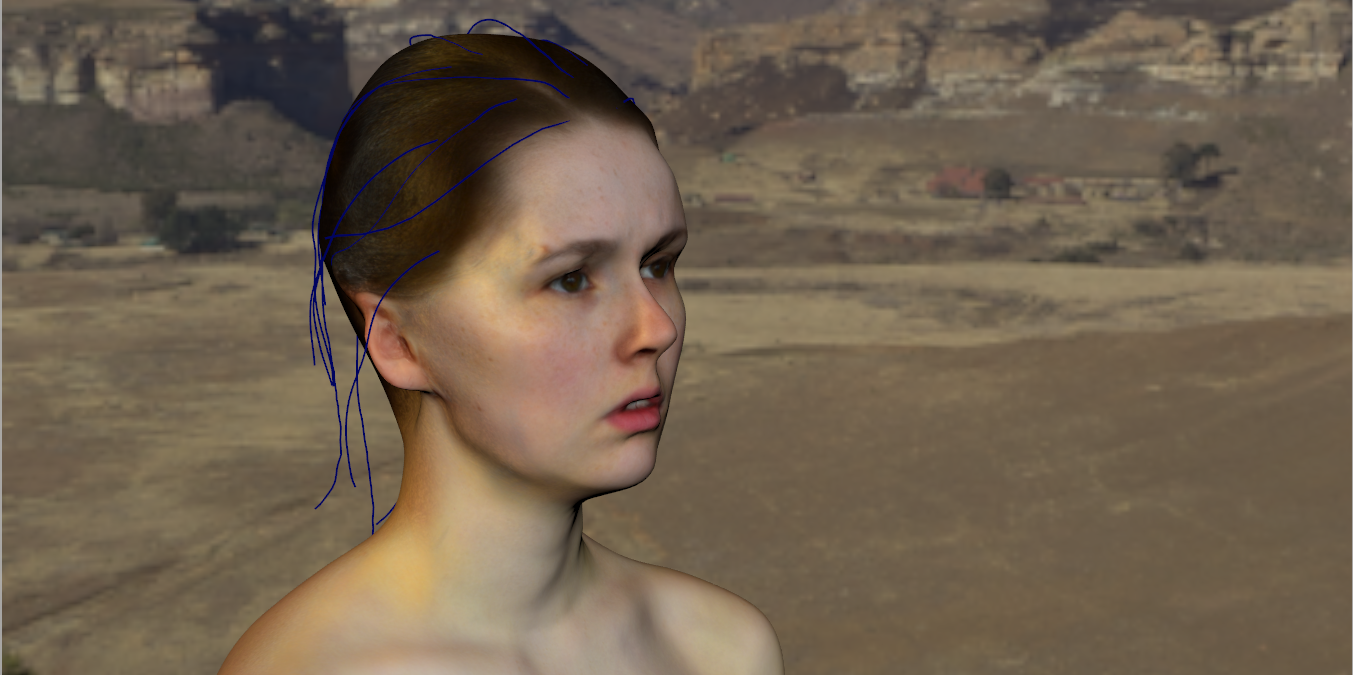
The image above shows a 3D scanned head with groom that I created using RealityCapture, Zbrush, Maya, Yeti and Arnold to render. RealityCapture is used in the industry for creating digital doubles as well as scene surveys. I used the Yeti groom tool kit to create the curves of the hair style which worked well for this model.
I have begun a work placement for Farm Group on the Farm FX team, led by Matt Richardson. I met Matt at Bolton Film Festival where I approached him after he had finished his talk about his career journey. After chatting for a while he gave me his card and told me to email him and we set up an interview and a tour of Farm Group's studio. We spent an hour talking about my work and weather it would be right for me to work at Farm. We concluded that it was important to finish my studies but I should come in once a week to work on shots, for practice. Then when I finish studying there maybe a possibility I could work for farm on a contract basis.
My first day went very well. I worked on some clean up shots for ITV2’s Zomboat. My task was to change the name on a canal boat so I used camera projection of a clean plate to create the new name for the boat. I also had some screen replacements to do that were quite complex requiring a 3D track and I used cards for the screens.
By week three the office became quite busy and there were a lot of new shots being assigned to Sam and Mat. So Mat decided to put me on a live project. I had to remove a light from a shot. I started working on the shot by tracking roto which meant Sam could crack on with the task without being slowed down having to rotoscpe the shot.
On week four I worked on shots for a TV advert preparing them for further work from the rest of the team it was my job to rotoscope actors standing in front of a billboard that had to be replaced. It felt good that they trust me enough to handle their real work at this stage. At the end of the day Sam reviewed my work and said the roto was tidy.
On the fifth and sixth week I didn’t have access to Nuke so I had to complete my work using Nuke Assist which is a heavily stripped down version of Nuke. This forced me to think creatively and find alternative methods for certain effects. For example in Nuke Assist there is no edge blur node so I applied a normal blur and set the blur channels to alpha only so it would blur the edges only.
There only three on the team at Manchester FarmFX: Mat, Mathew and Sam (Sam being a graduate from Futureworks) It’s interesting to see how the three of them work well together.
They use Shotgun to assign and review shots which is something I would have found useful for my studio project. Mat told me how he wrote a series of scripts for RealtimeUK that would improve their pipeline management. He said its basically a poor mans Shotgun for Nuke as it mimicks lots of the features from Shotgun like email notifications and shot naming.
I made my own pipeline script for windows that would automatically ingest and sort EXRs files from a folder containing different cameras and sort them into new folders with the correct naming conventions. This was used extensively in my studio project where I had a collection of render files that were frequently added and required sorting.
“Whilst you’ve been here I think one of your strengths is your ability to learn new techniques and take onboard advice, as well as asking good questions to gain a better insight.
Something to improve on would be accuracy of the smaller tasks in a comp. I found that the difficult tasks you pay more attention too and are of a higher quality than that of the easier ones such as grading, roto work. Taking more time on alpha edges and plate integration. To improve I would say it’s more to do with a time balancing than todo with your abilities as a compositor.”
Casey Lowry - Boyfriend (Official Music Video)
I was approached by a London video production company to work on VFX for a music video for Casey Lowry. I was put in contact with the director, Kate Woodland, we went through her script and story boards and then went through each shot and discussed the vfx where appropriate.
She was very organised with the shot list which made it a straight forward to work togerther however she didn’t know much about VFX and she had a three-day deadline from after she had filmed the video. This meant that we had to change one of her shots to a simpler picture frame replacement. Her original idea was to have animated pictures on pages of a magazine while the pages were turning. I said this with the other five shots would be too much for the short timeframe.