Hope Valley Productions are back!
On our first meeting on 6th July 2019 we decided to make an advert for an electric car. The choice was difficult finding an electric car with an upcoming release date was important.

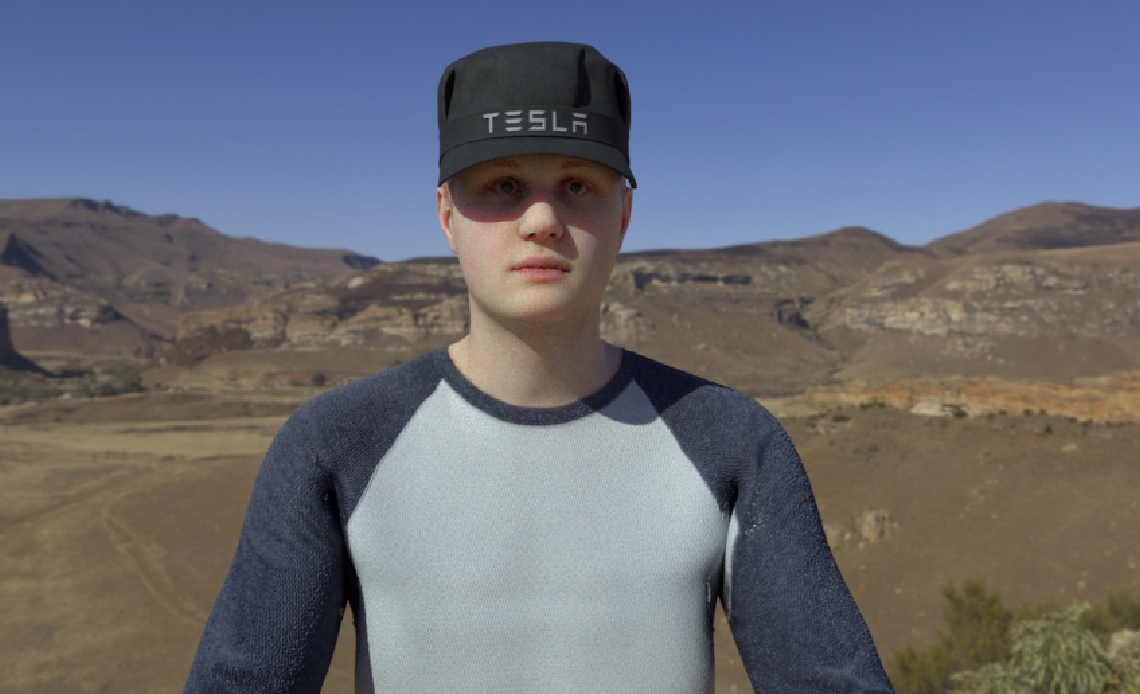
A possible car selection was the Fiet 500 Electric but we decided to make a futuristic advertisement for the upcoming Tesla Model Y.

Over the break Jakub started modelling the car as he knew it would be a complex task as the edge flow of the car’s panels would have to be perfect to smoothly transition from each curve on the car’s body.
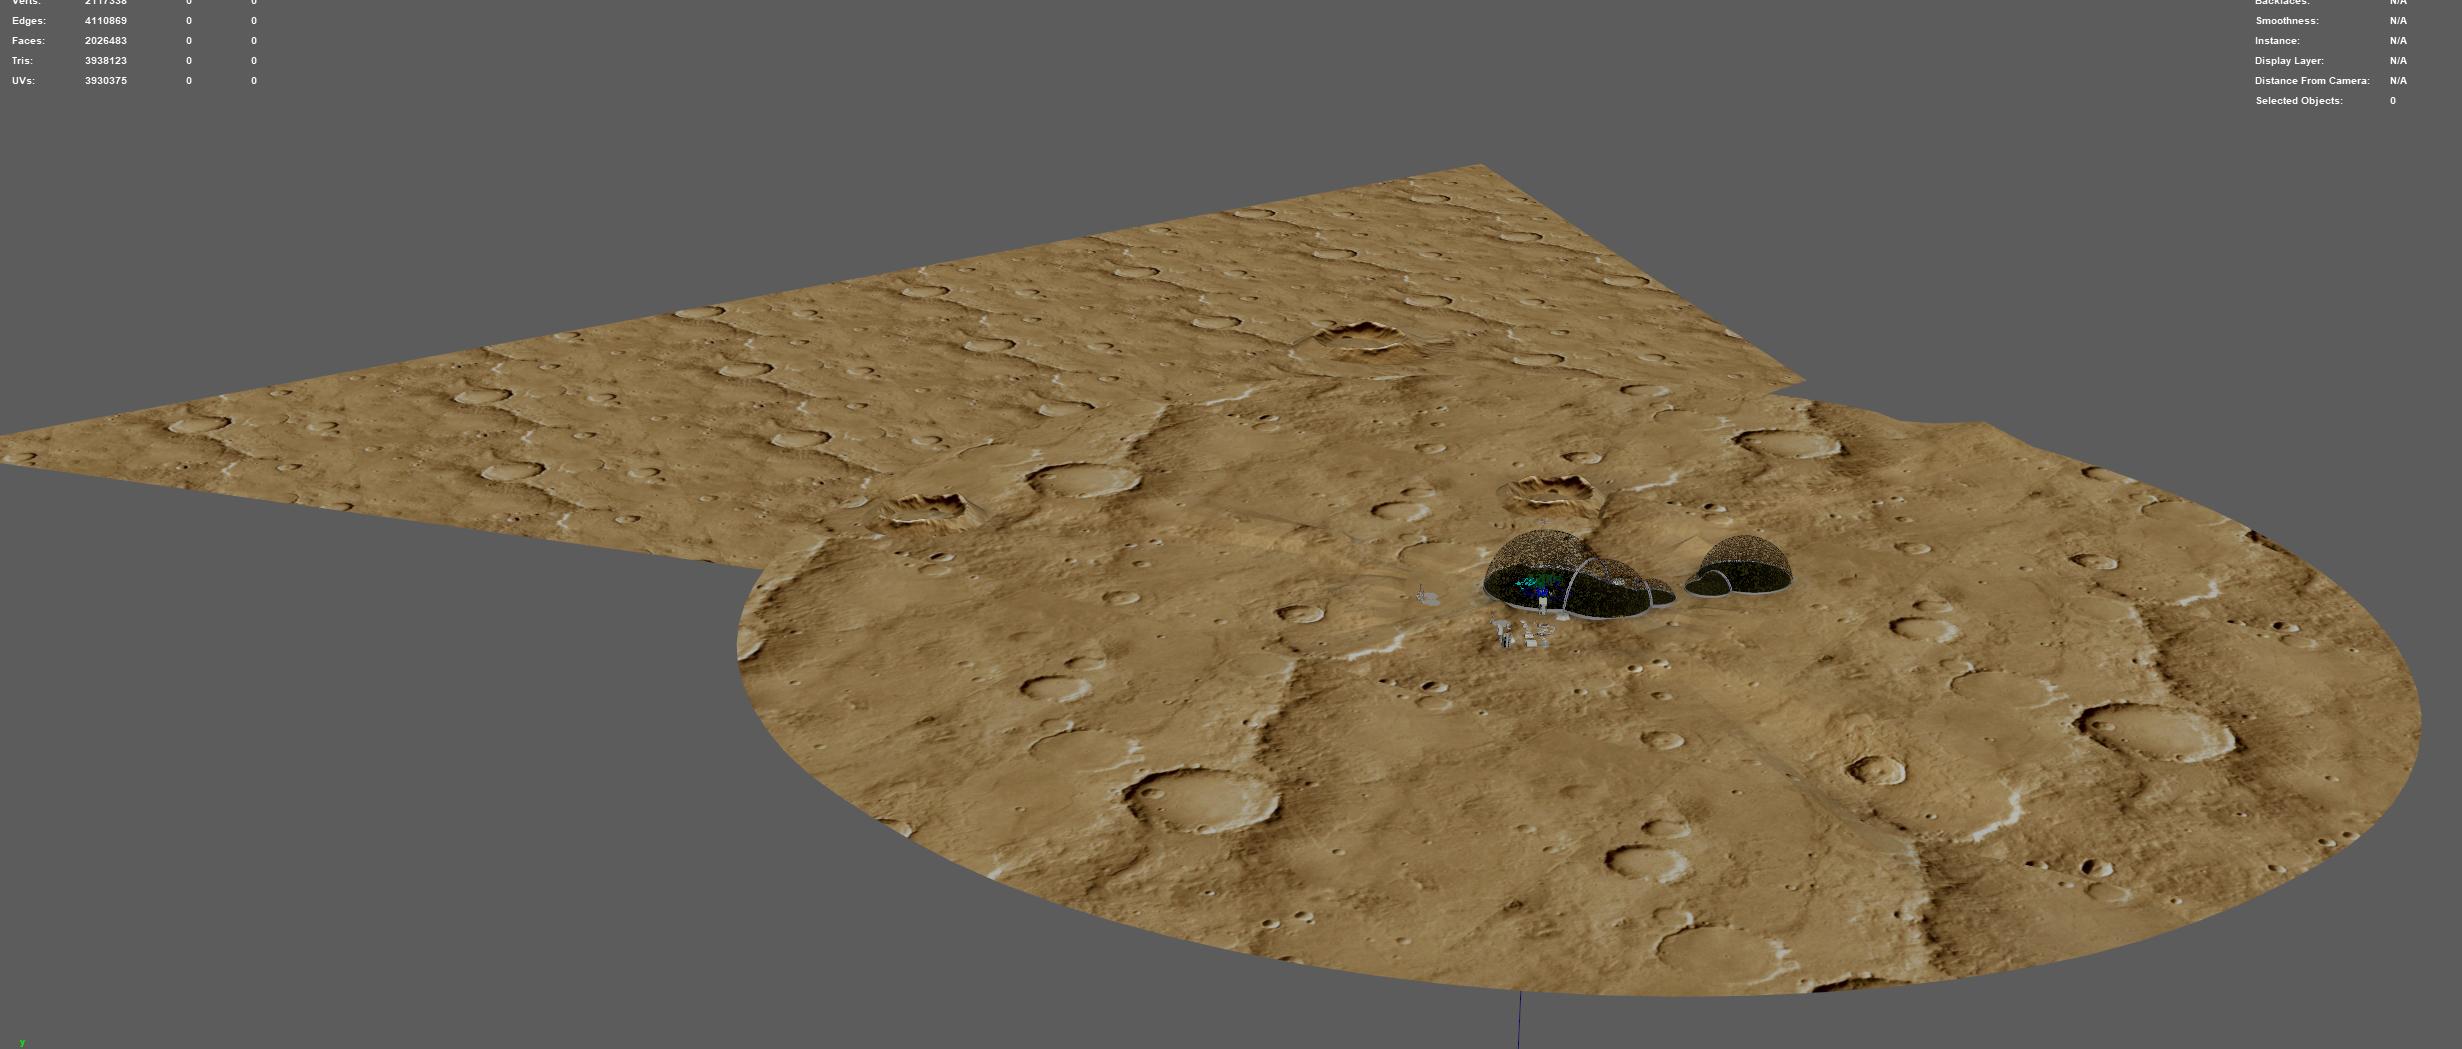
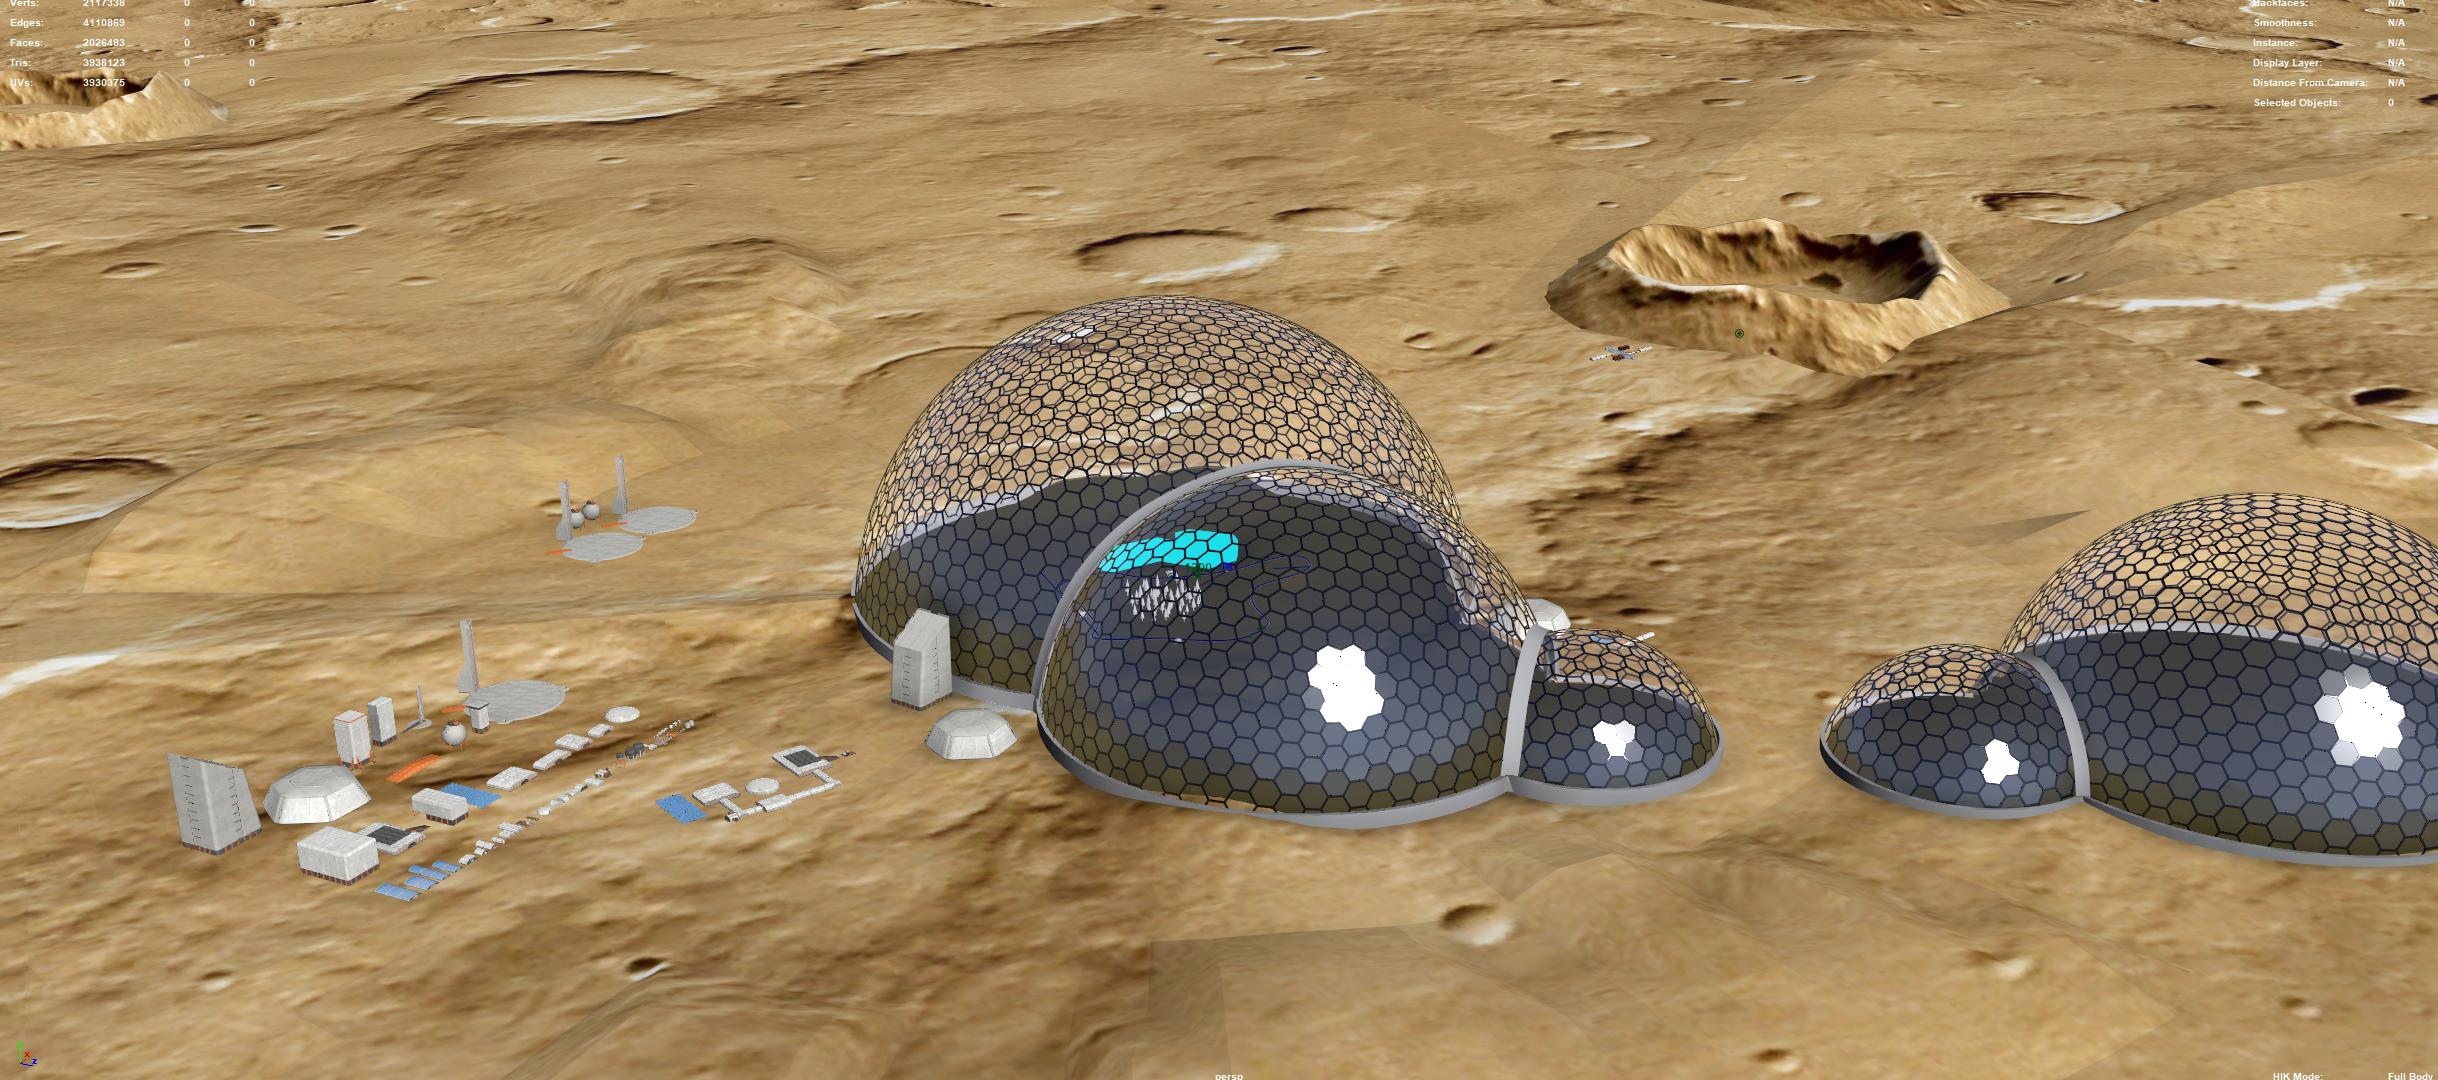
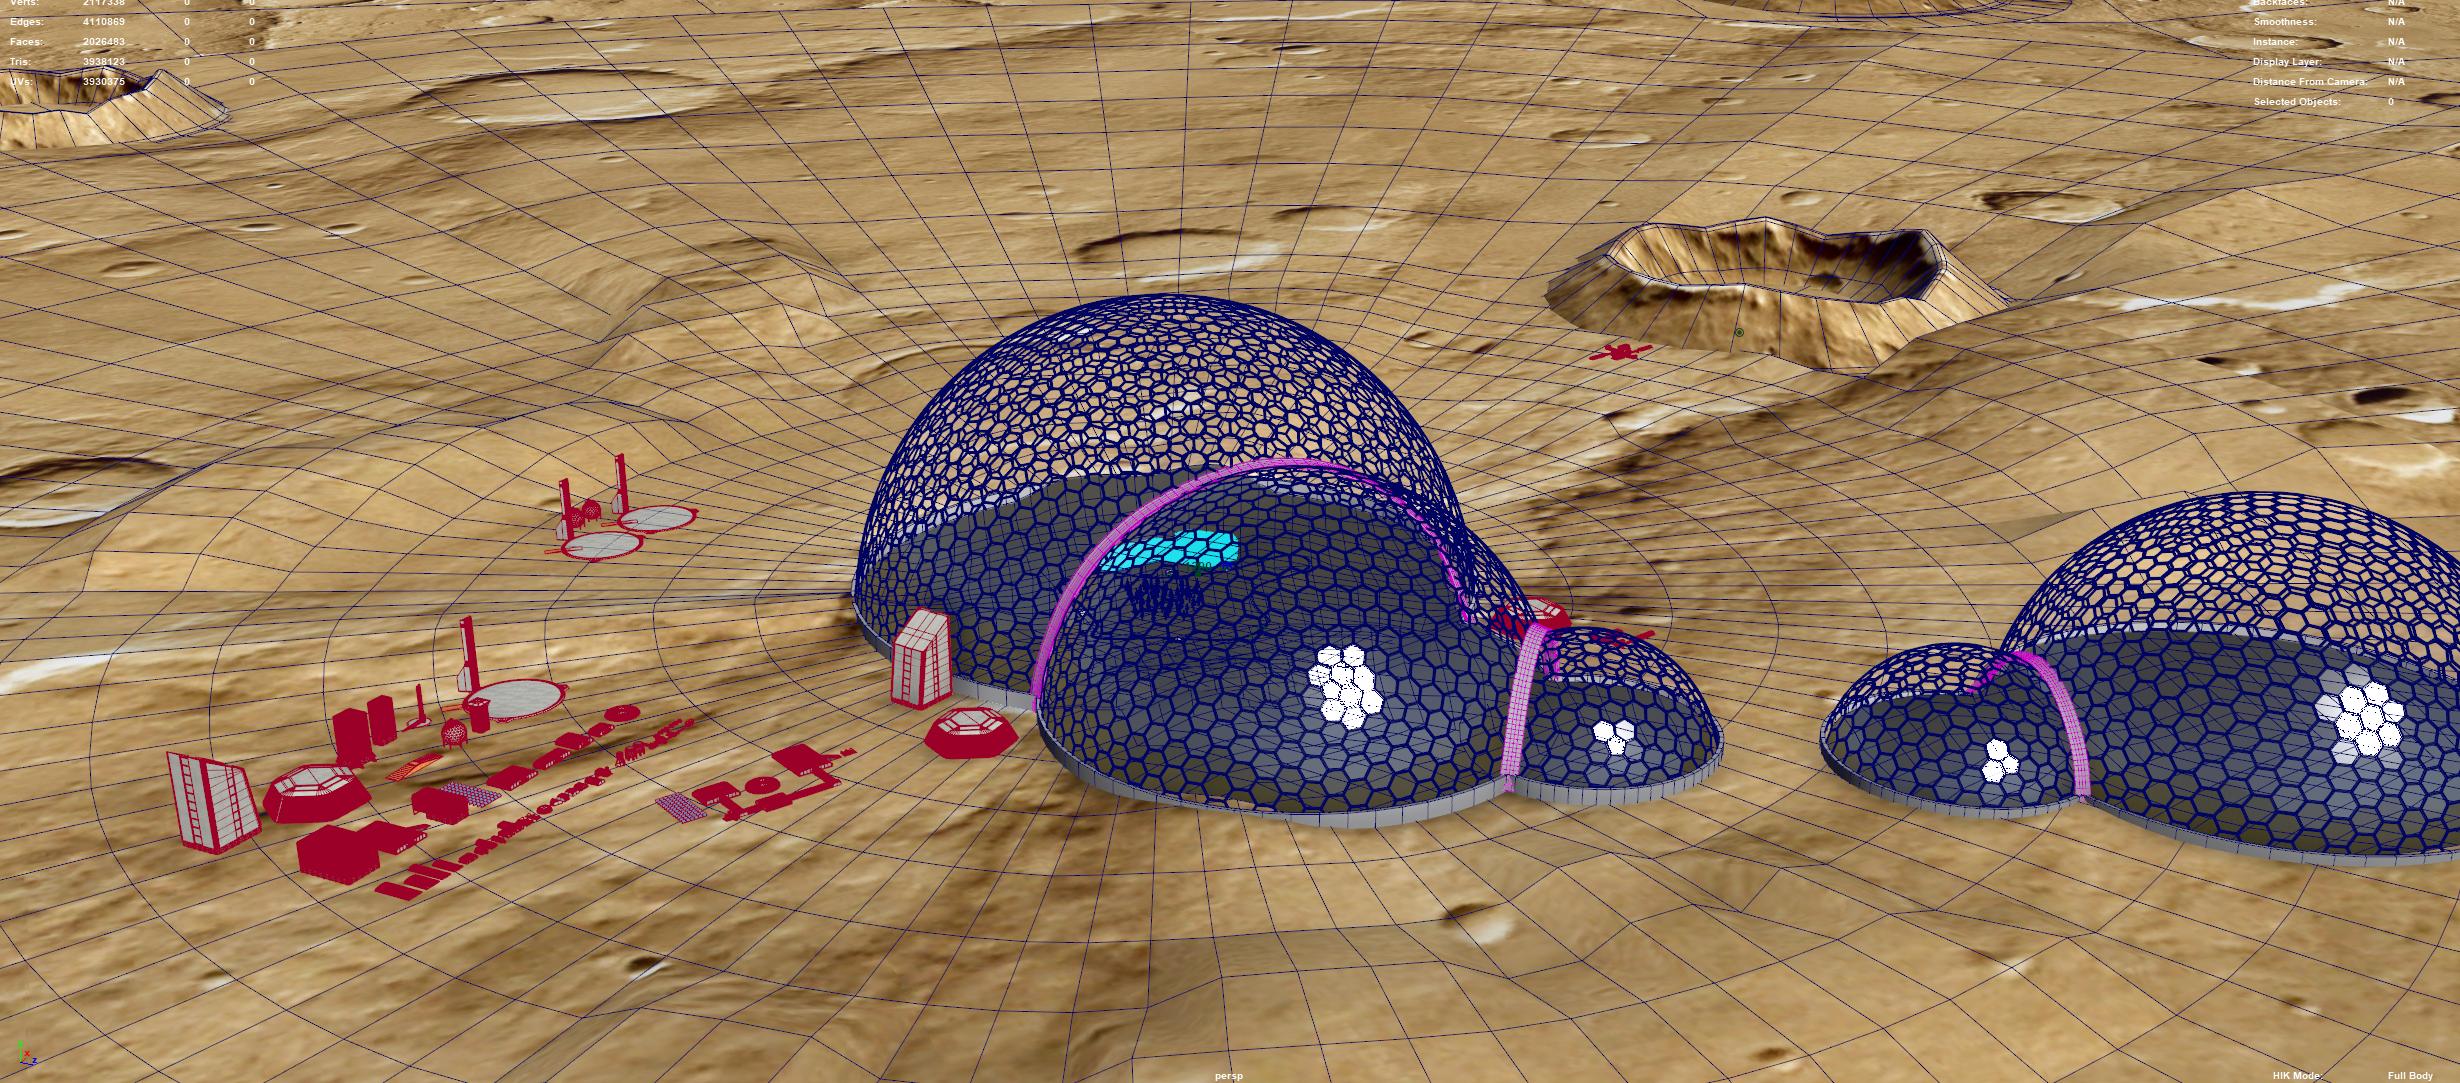
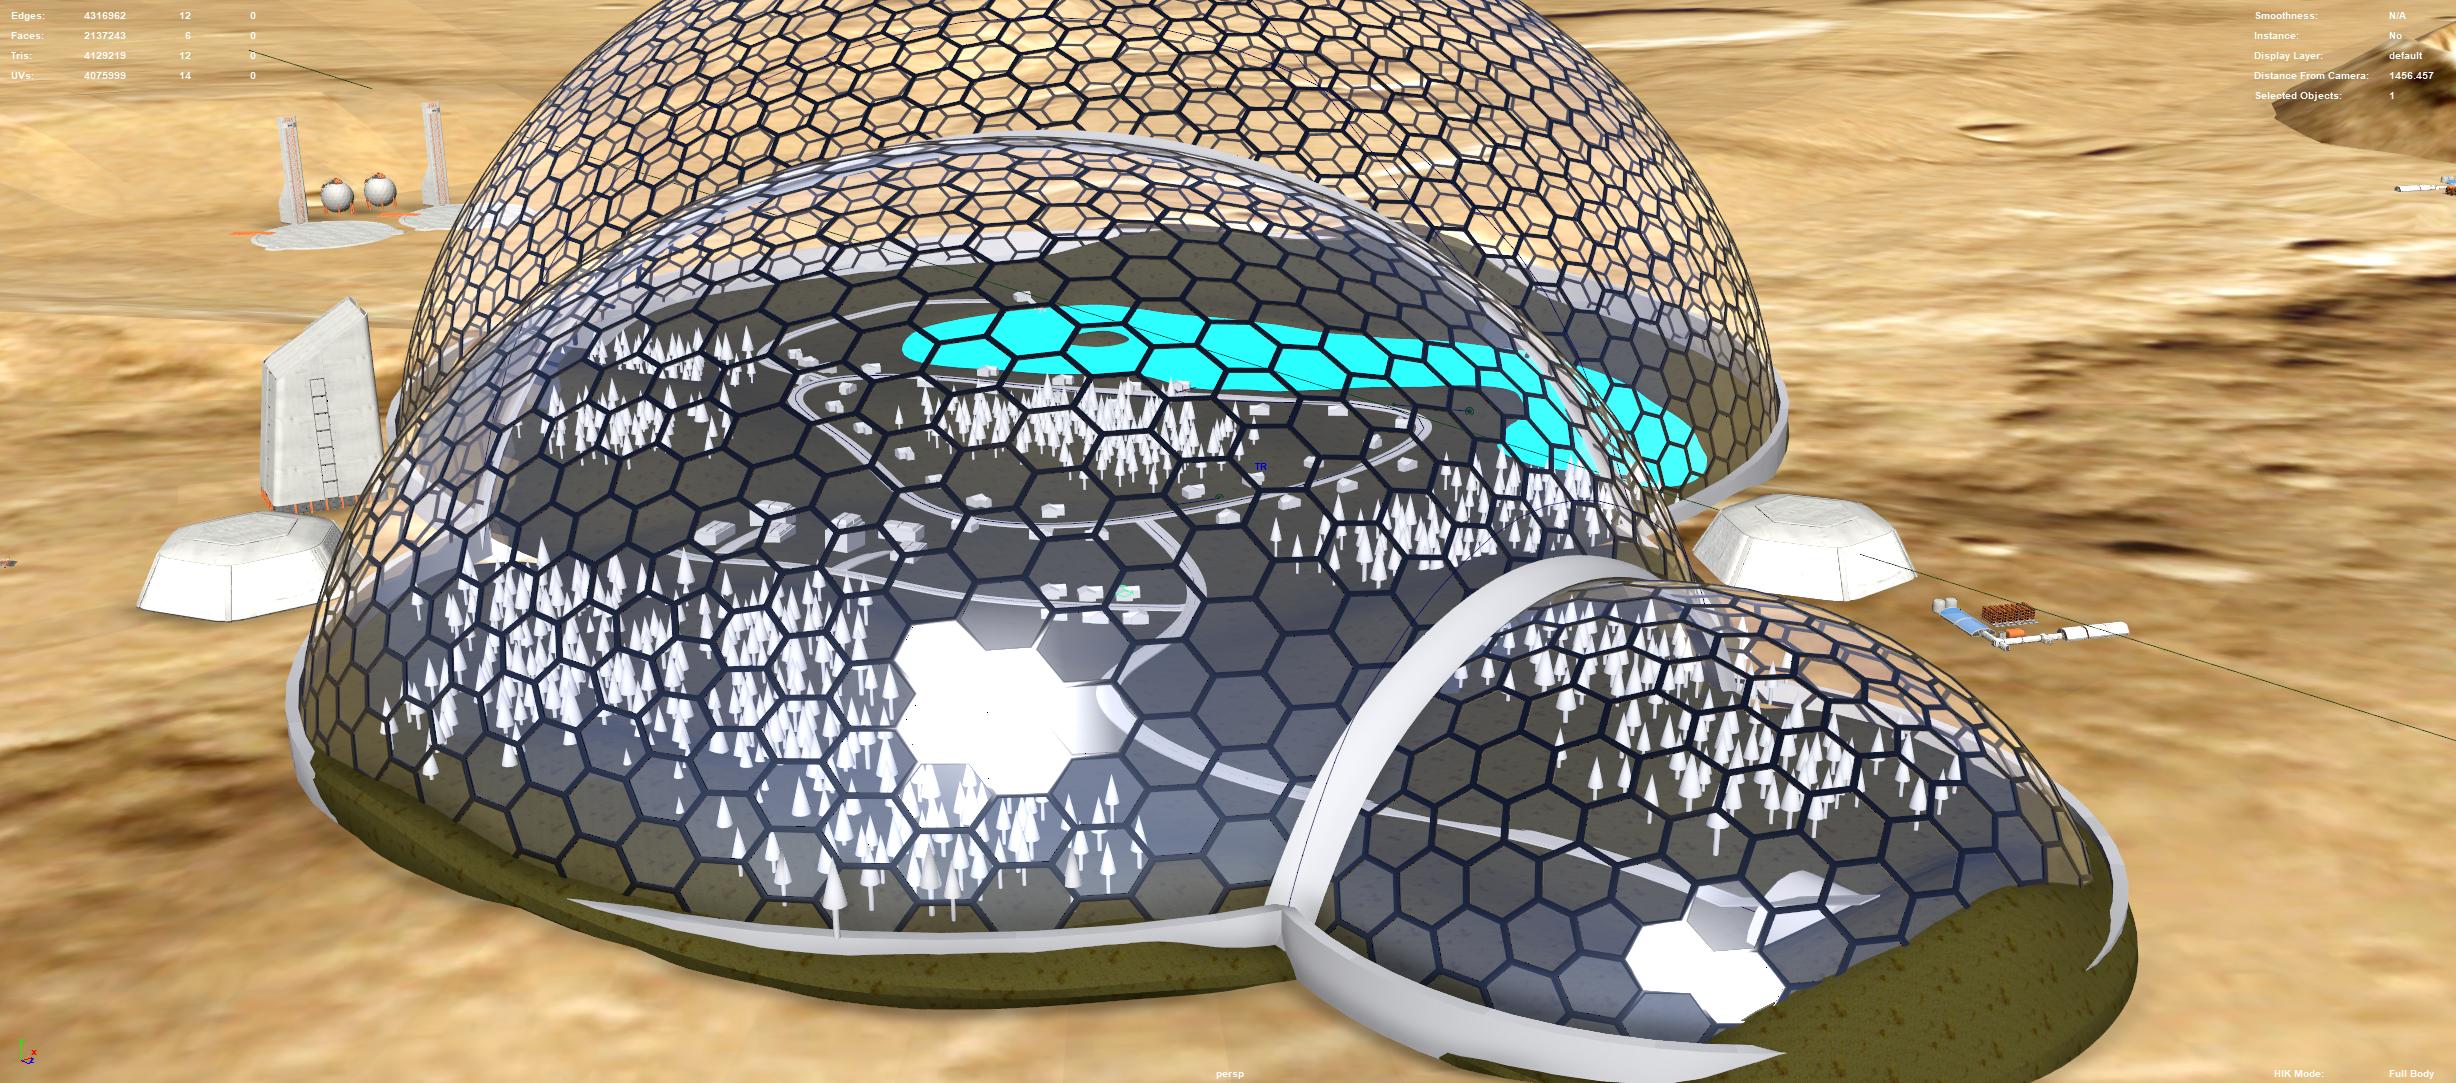
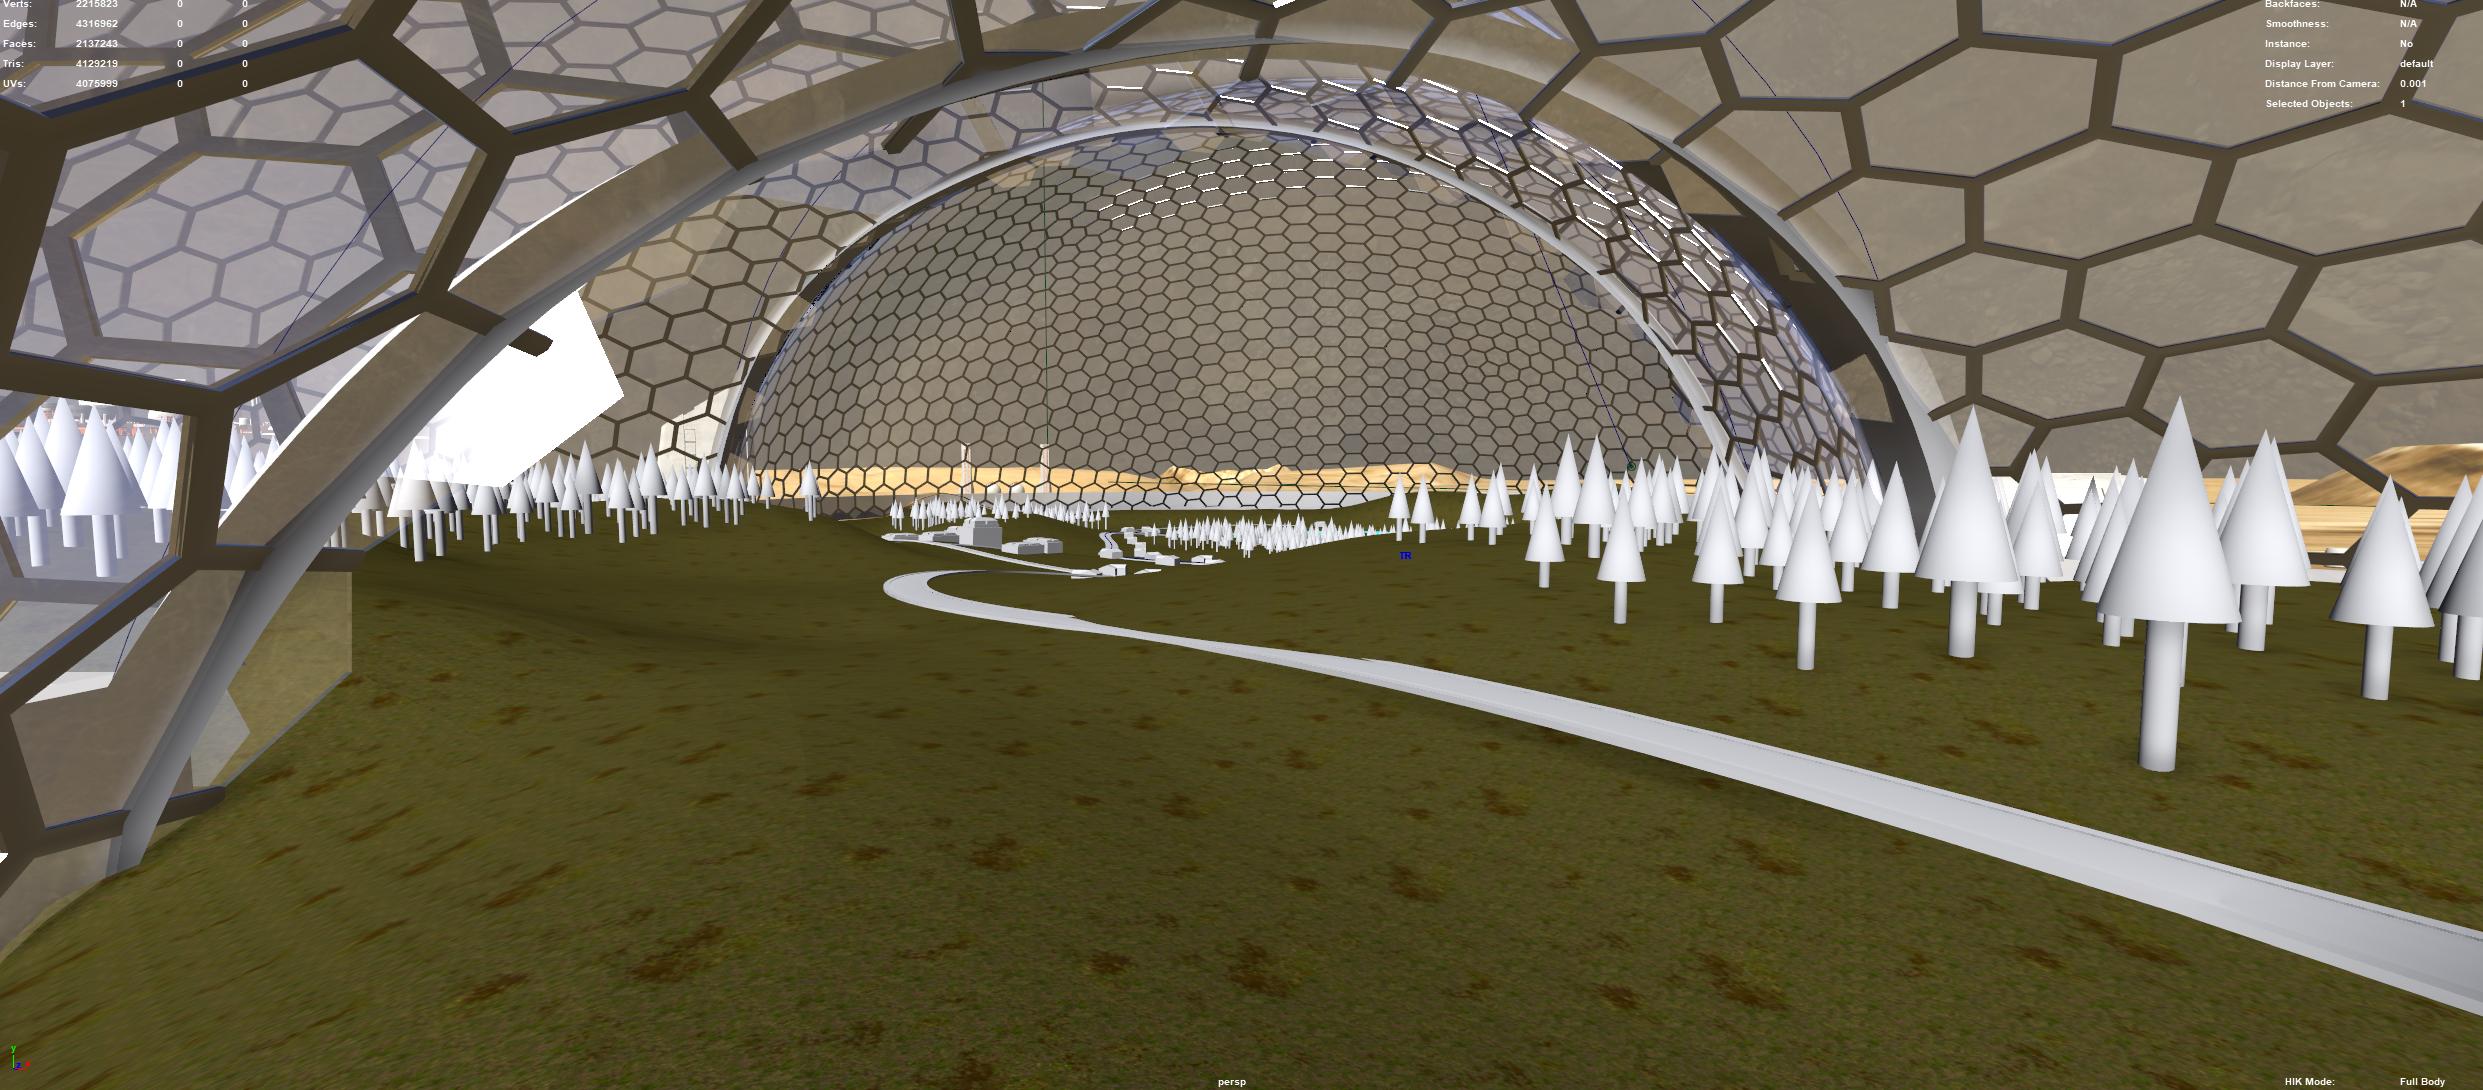
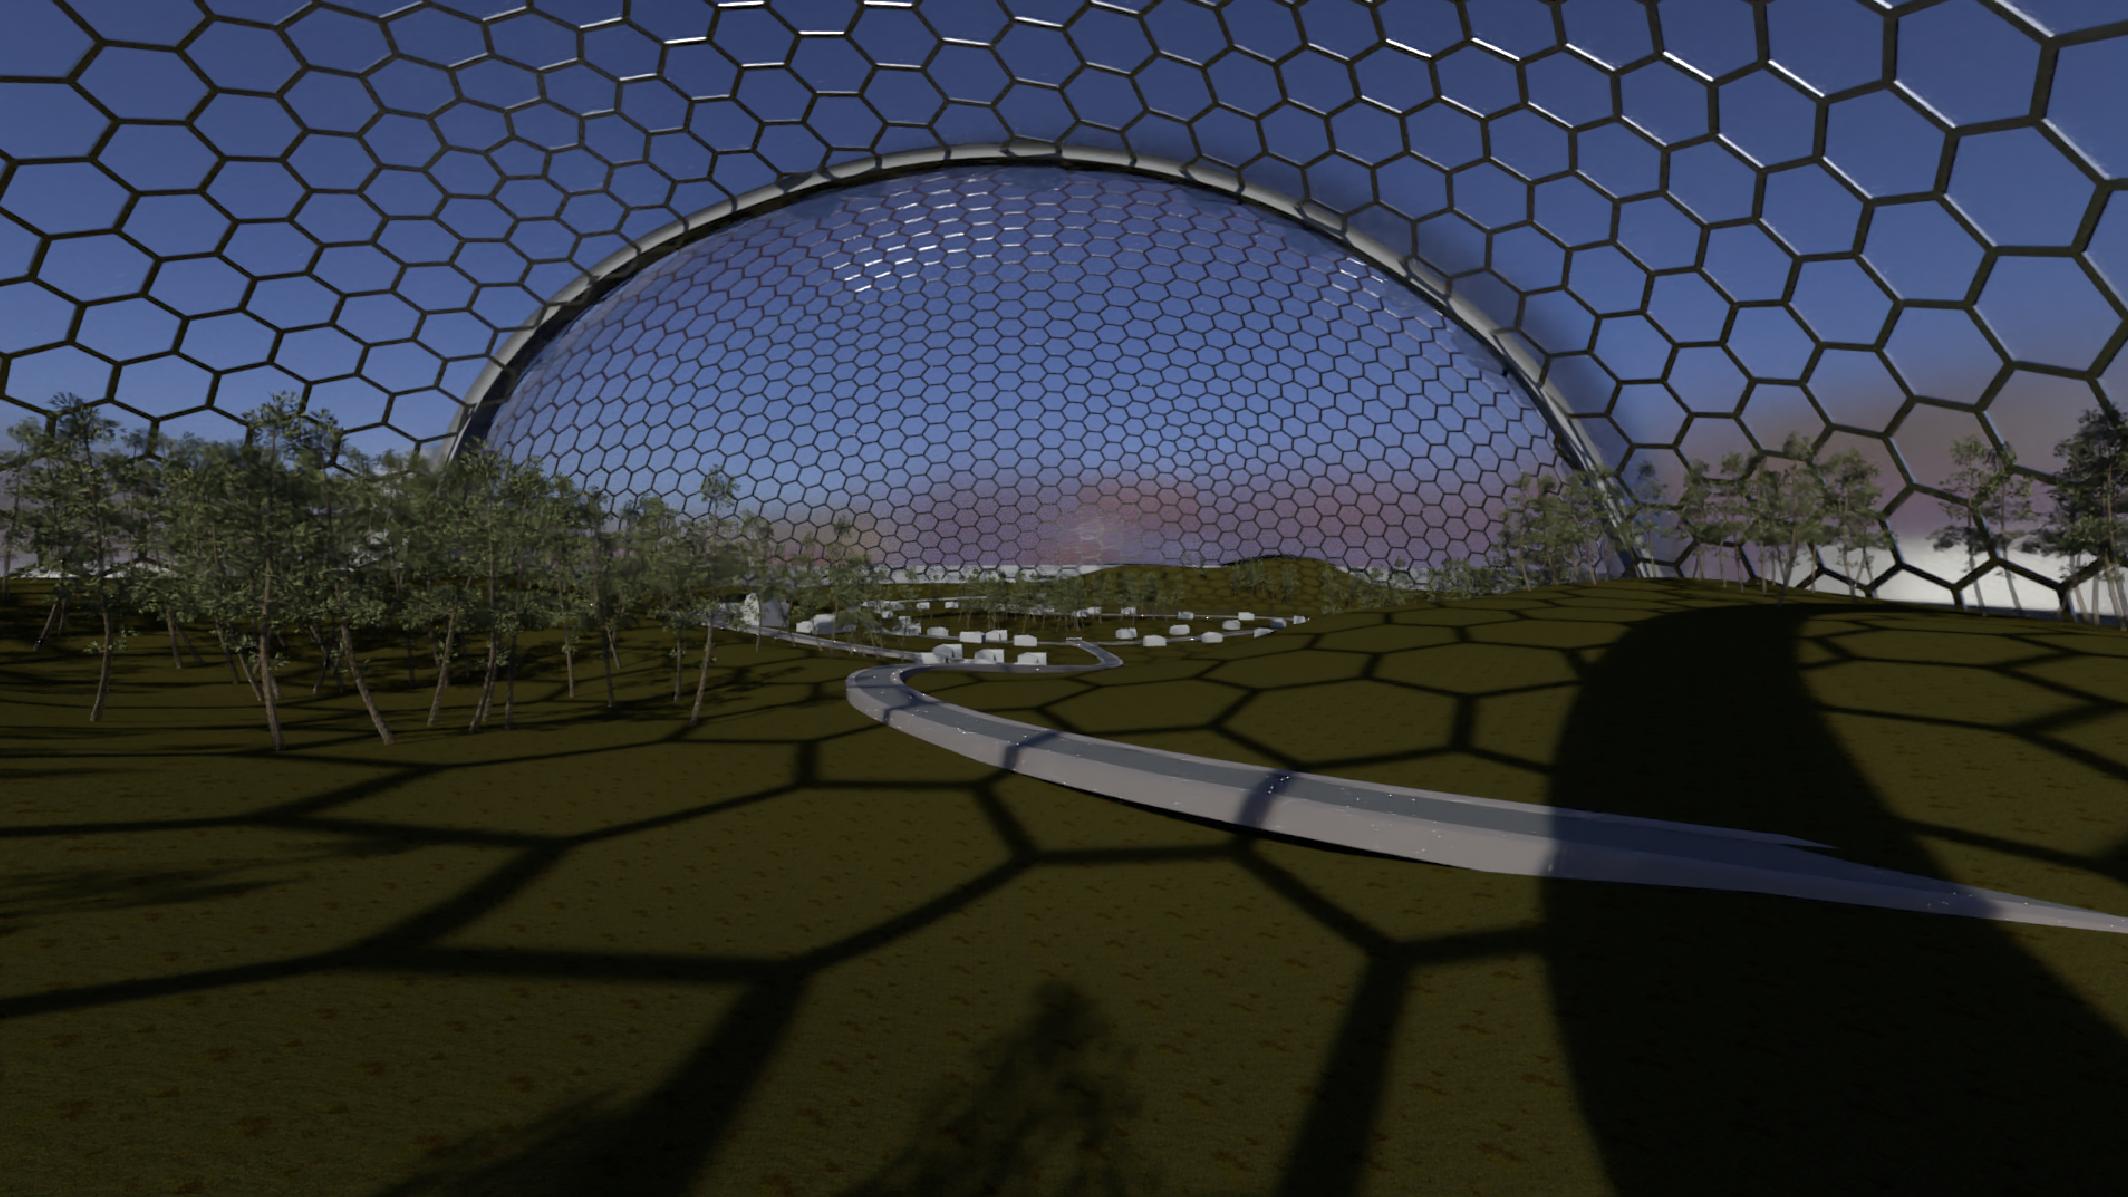
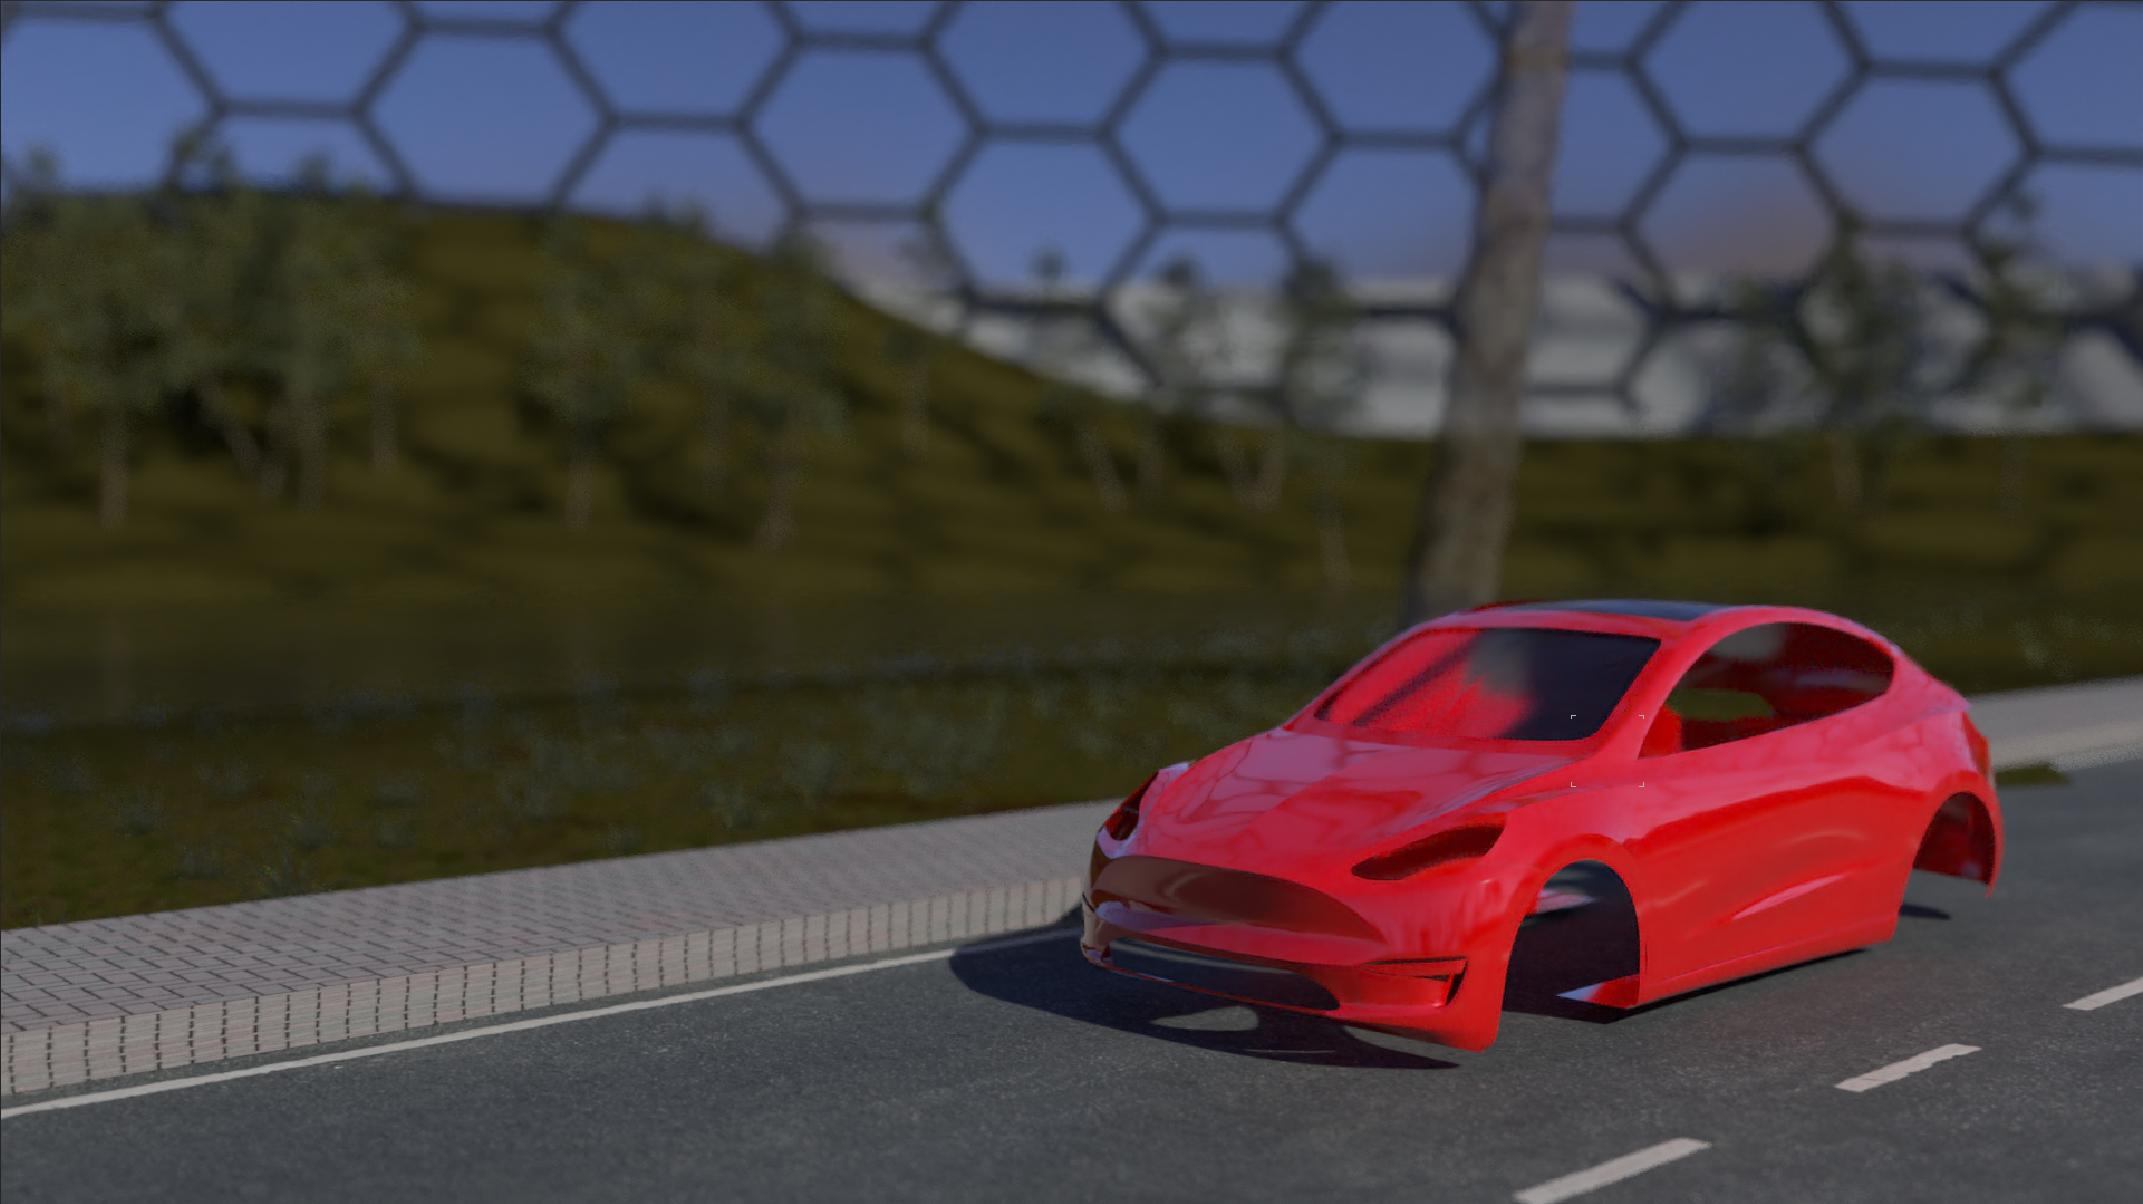
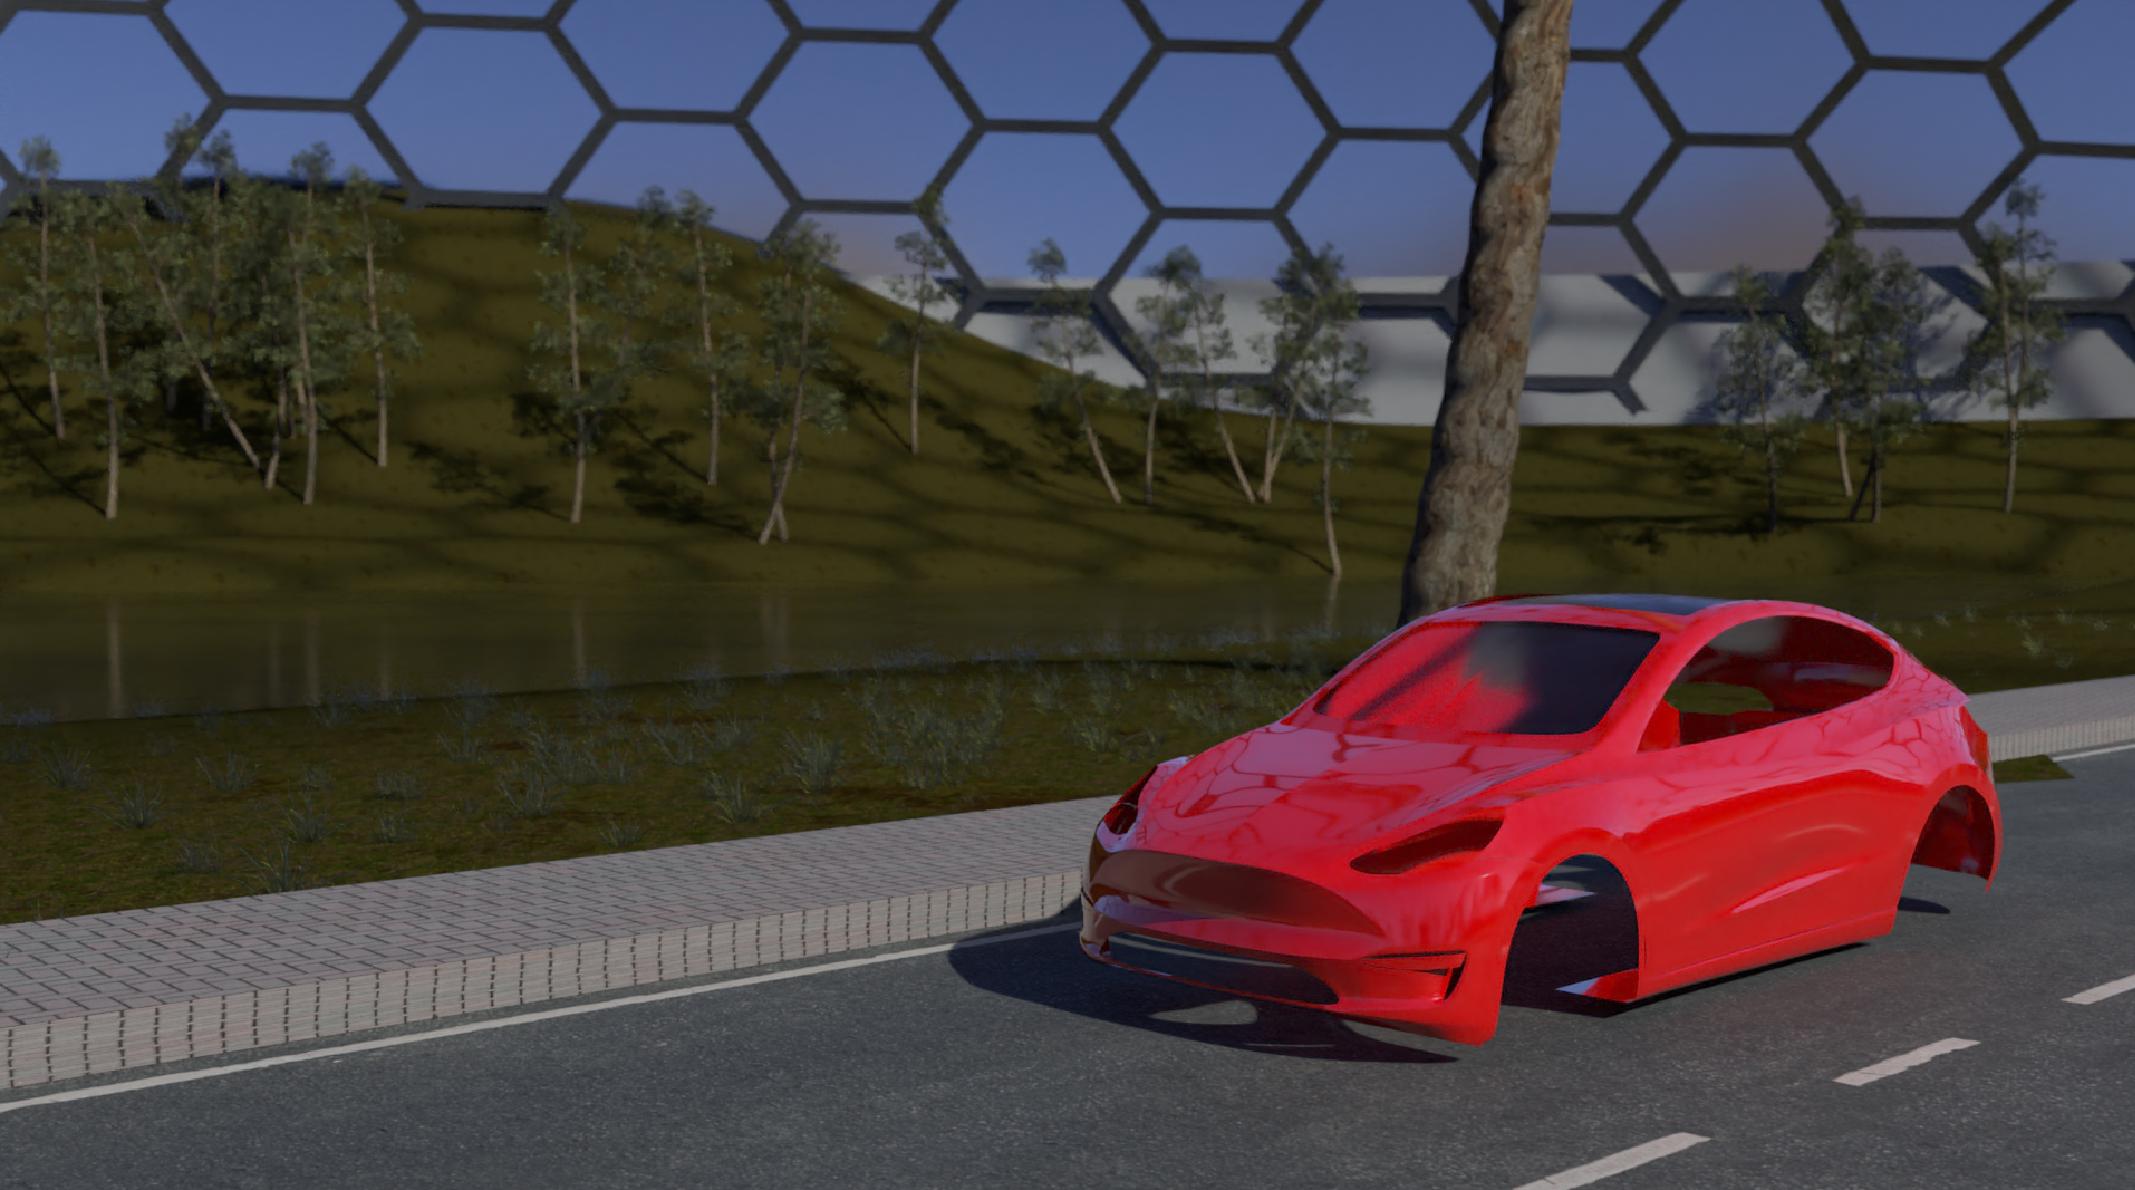
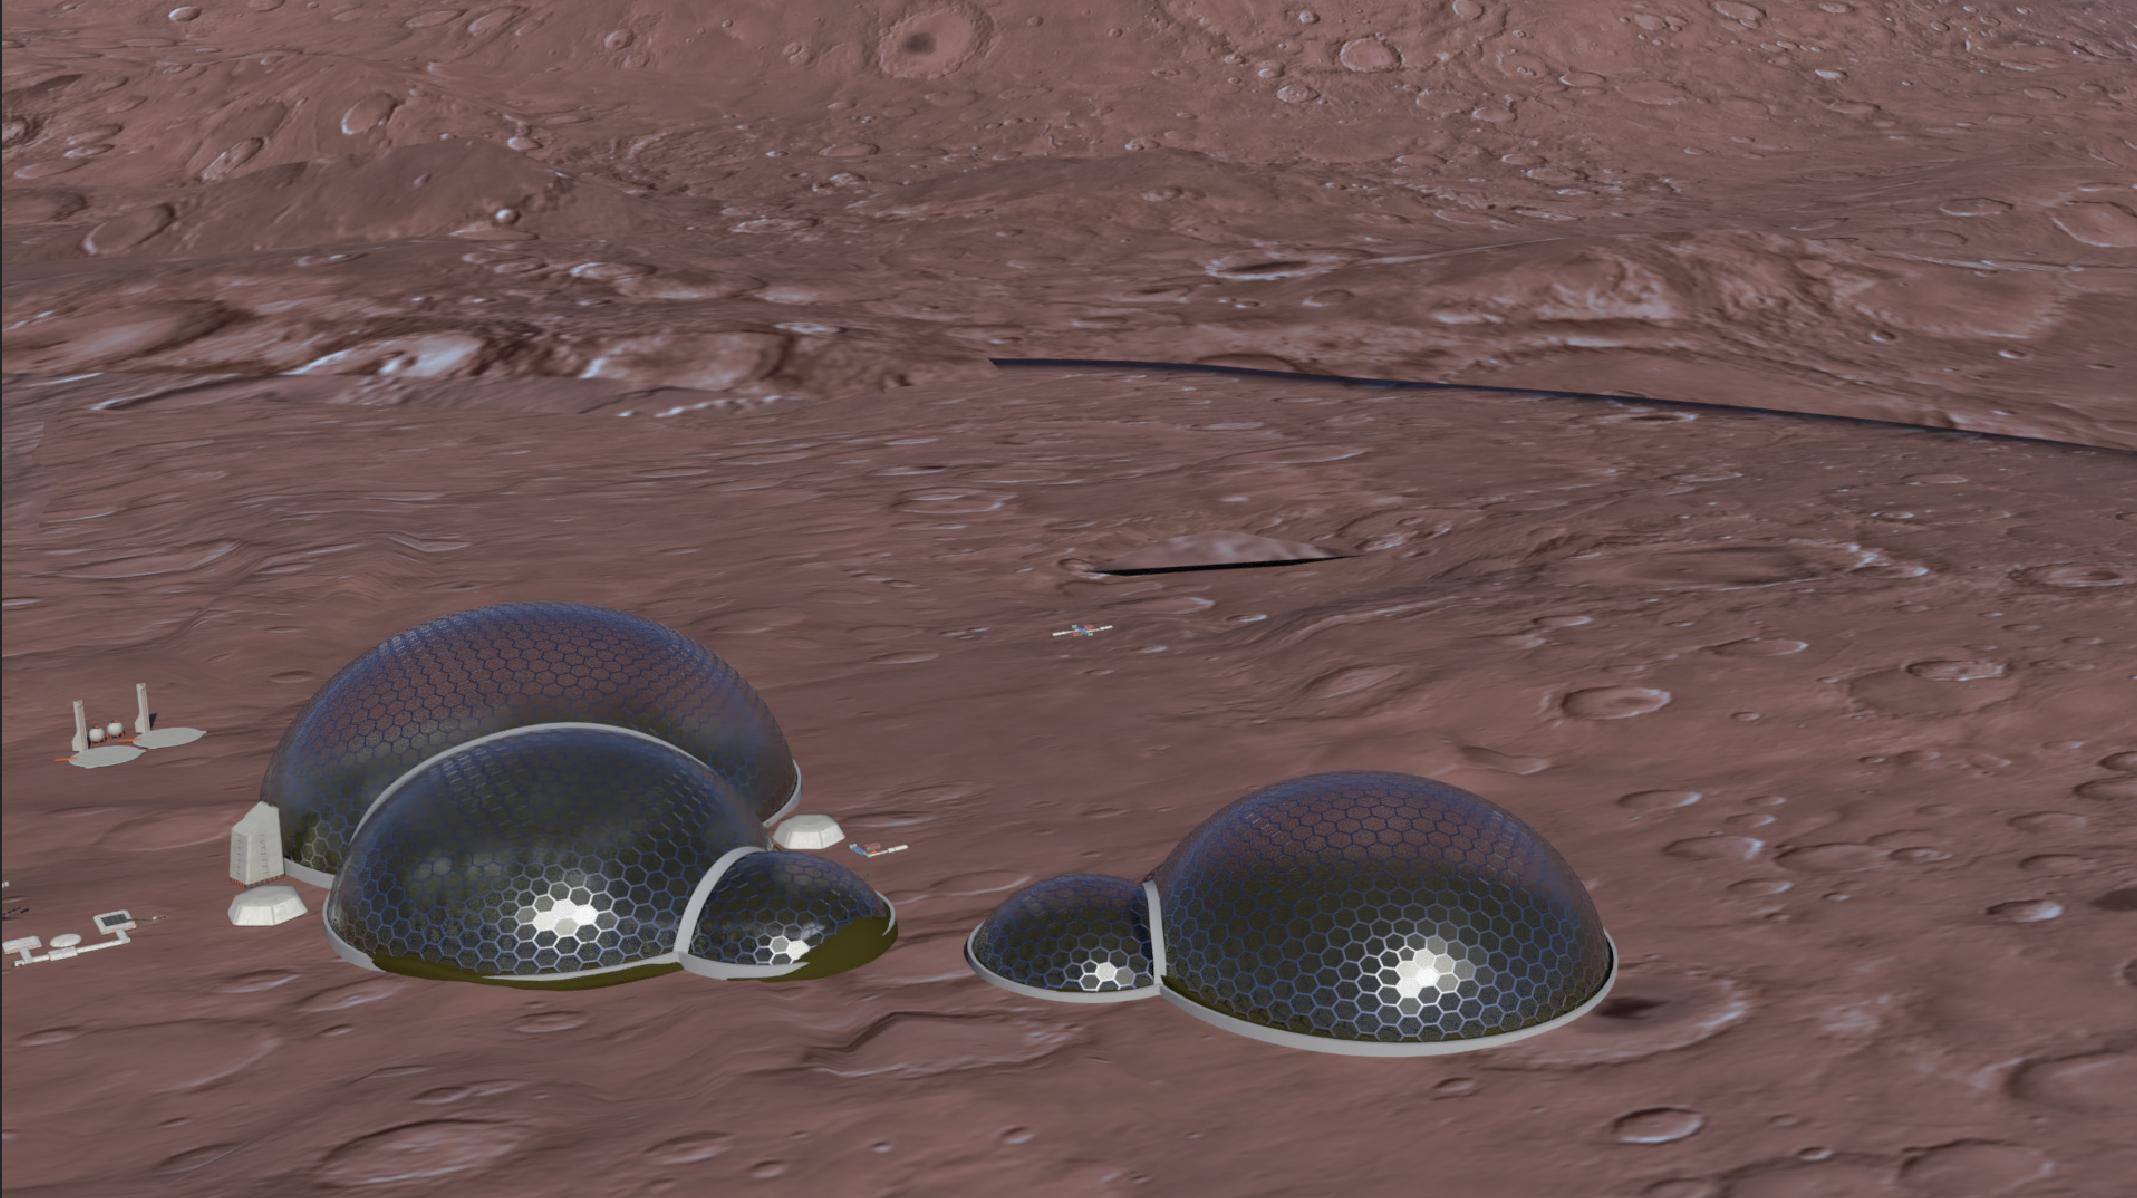
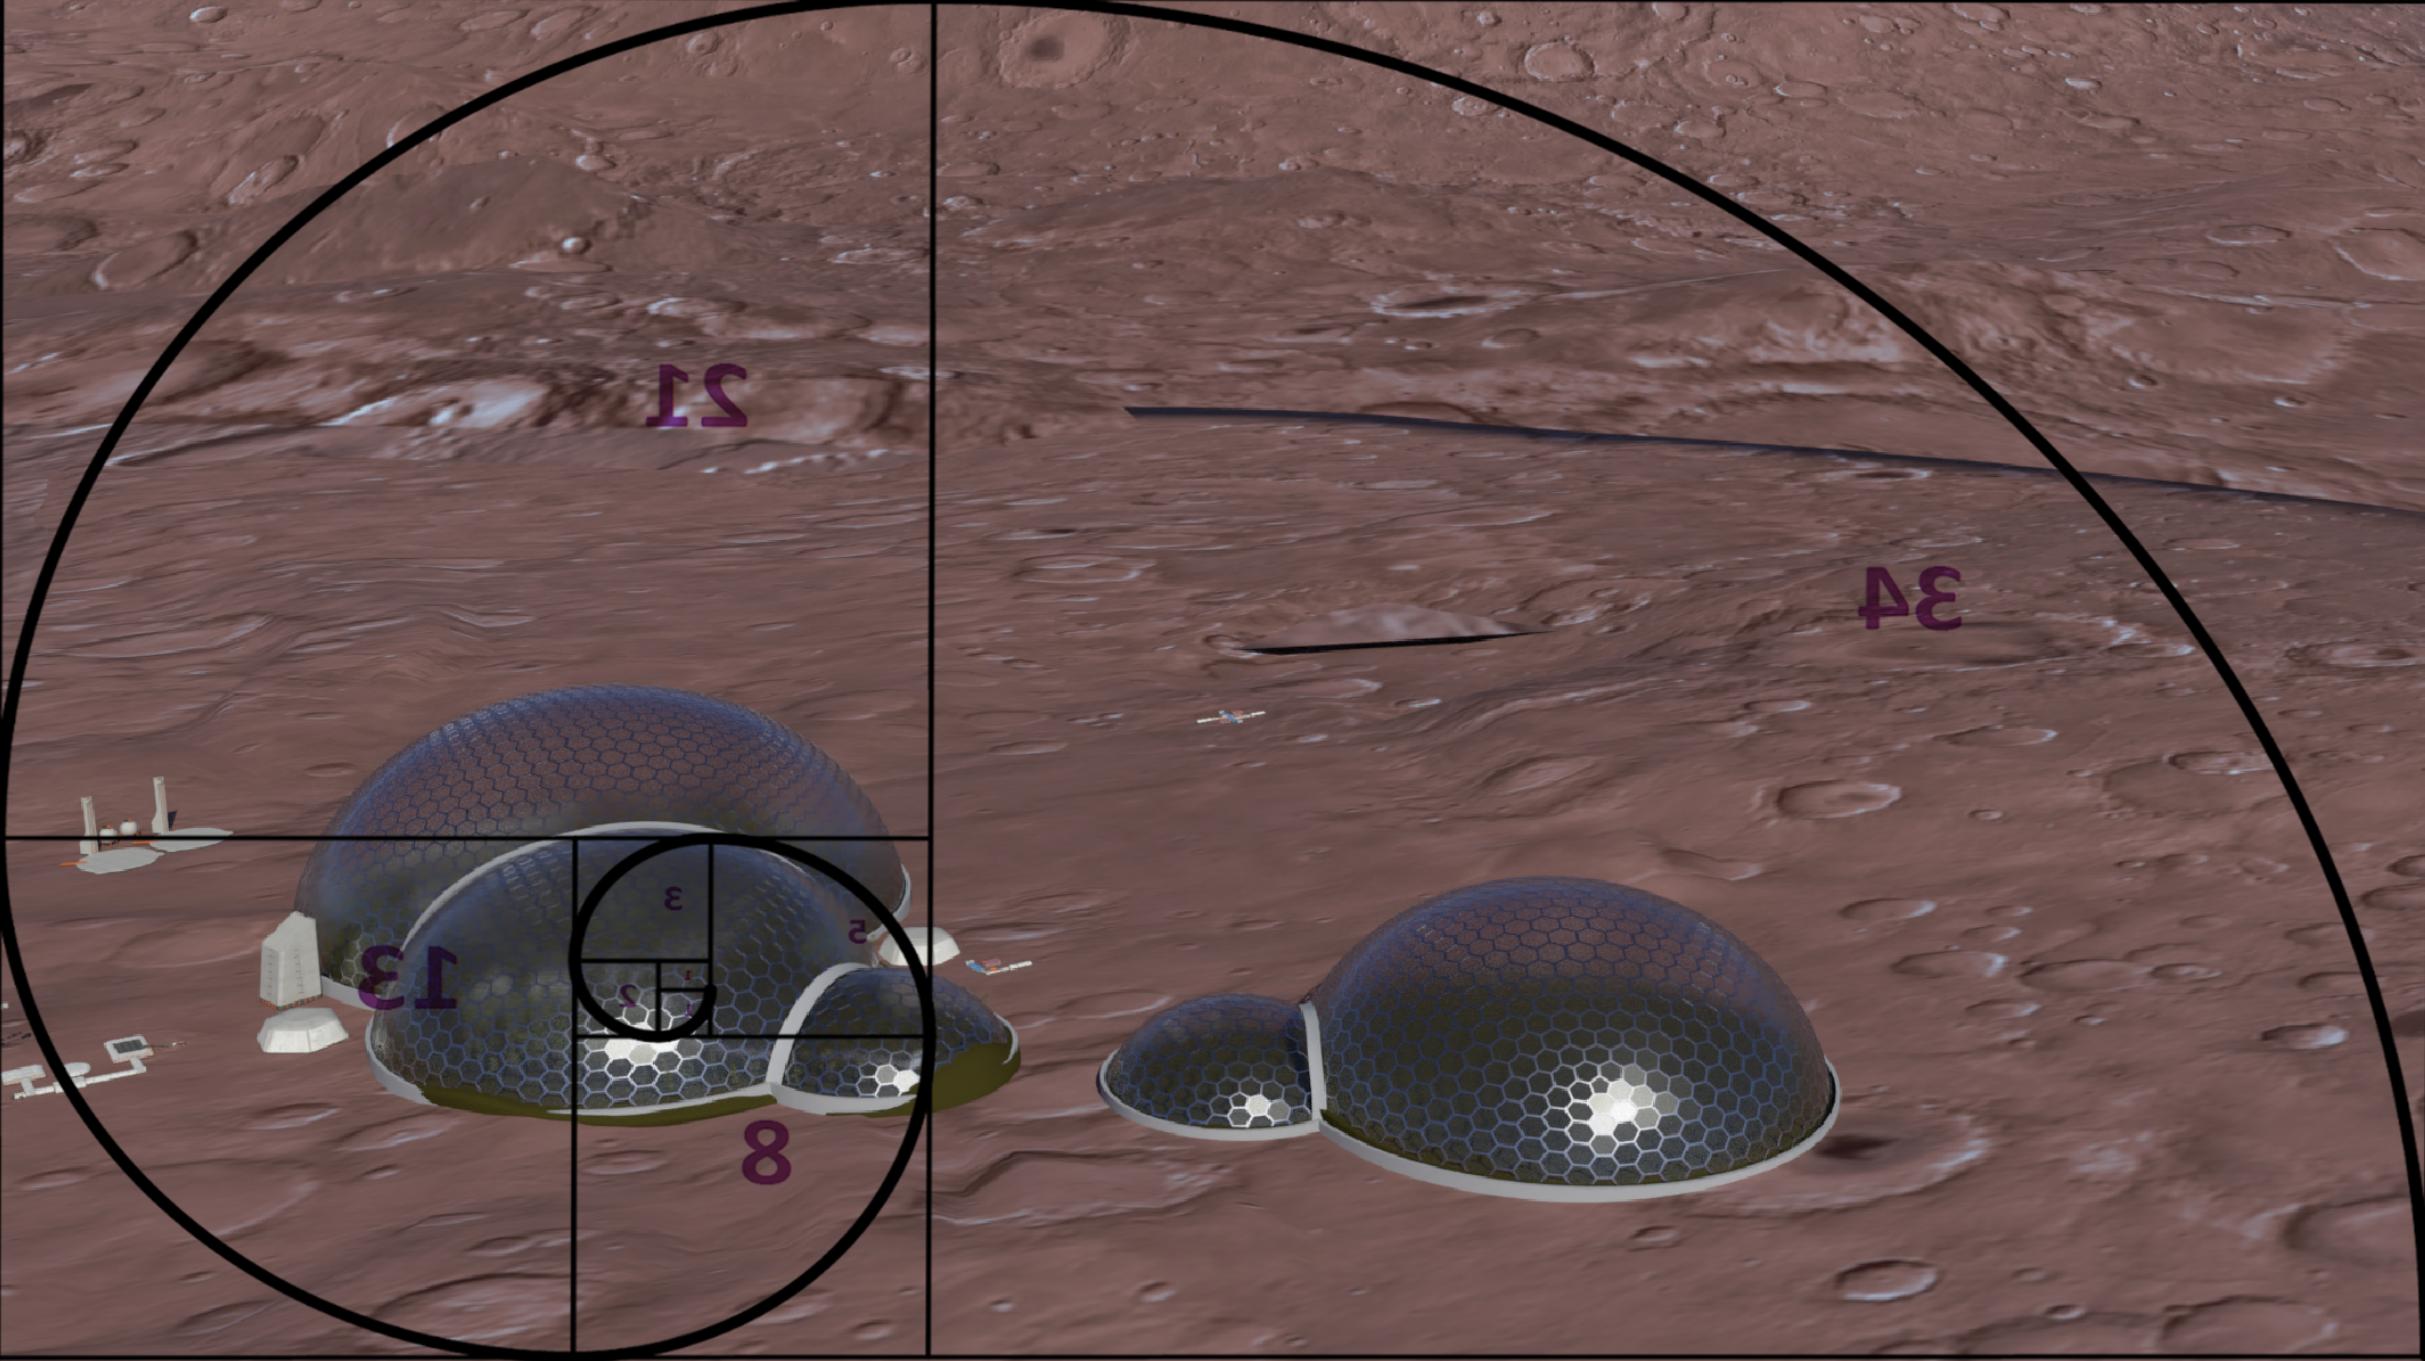
While Jakub was modelling the car, I could begin to work on the previs and a shot list with a proxy car. In our next meeting Giannicola, Jakub and I sat down and produced a story for the advert. The car would be driving along a peaceful road lined with pine trees only to park up at a house. The camera zooms out to show a town is inside a glass dome on Mars. We estimated the runtime of this advertisement would be one minute and comprise of five to seven shots with the final shot being the reveal of the dome.


Images of the previs creation.
Current look development


Python
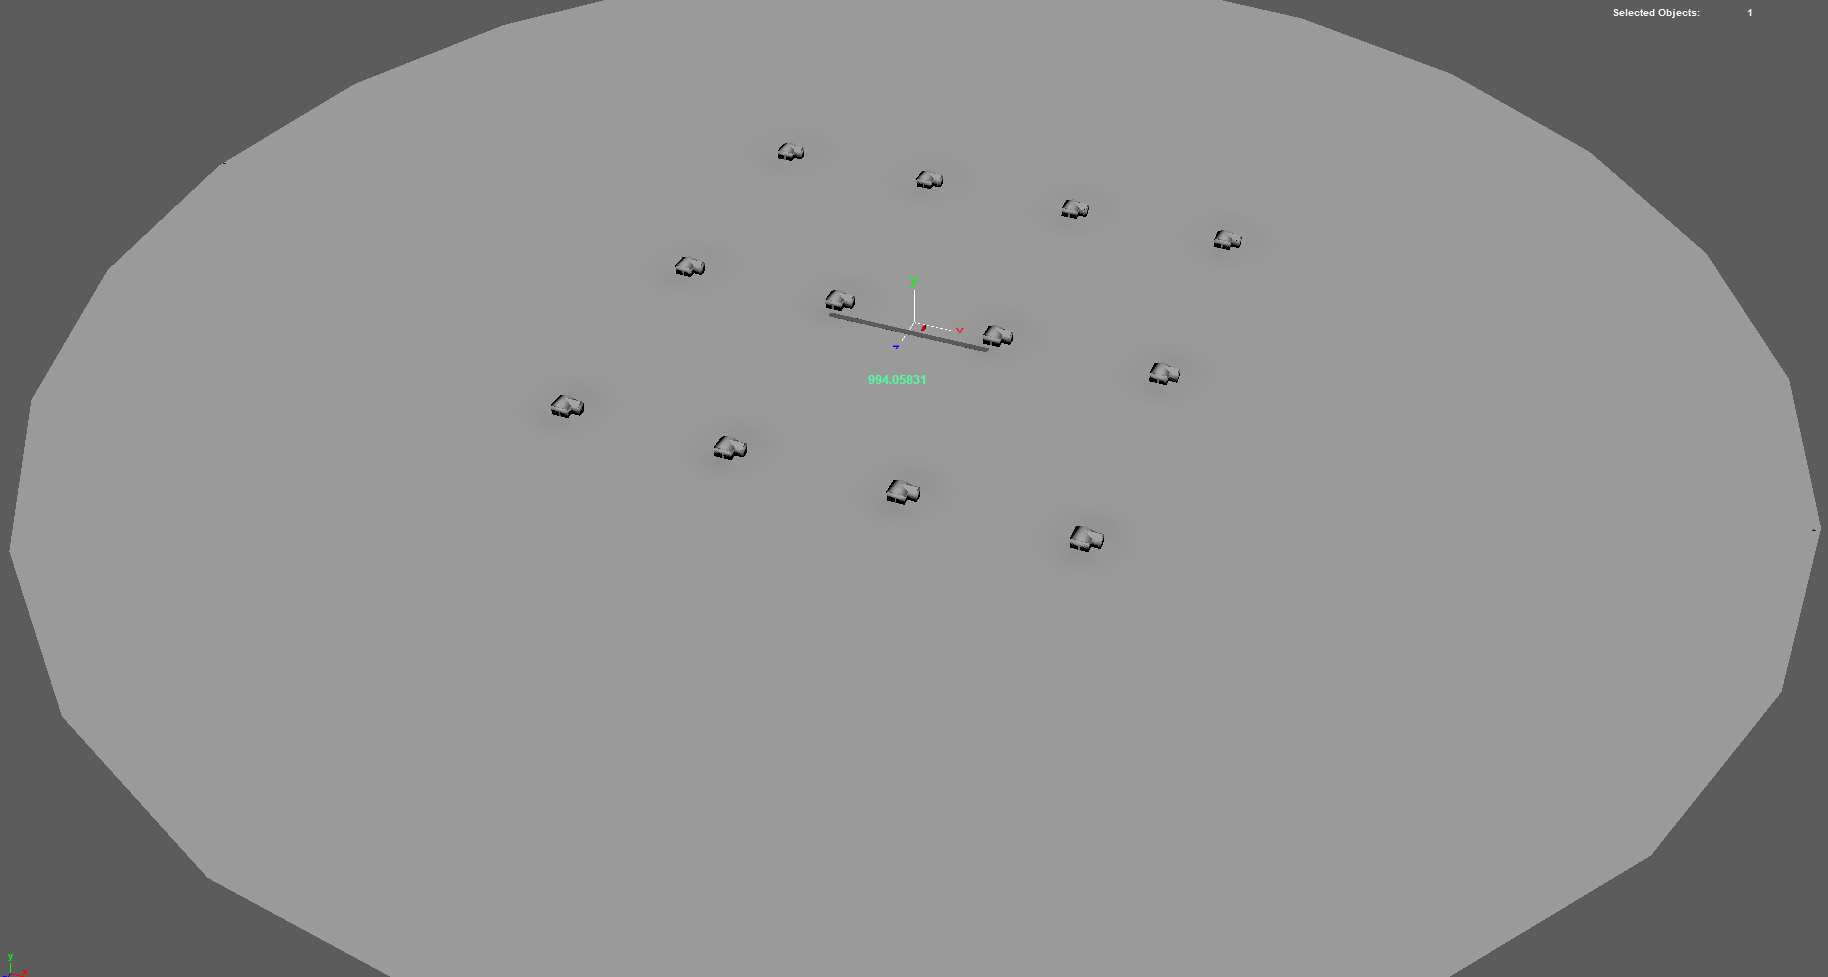
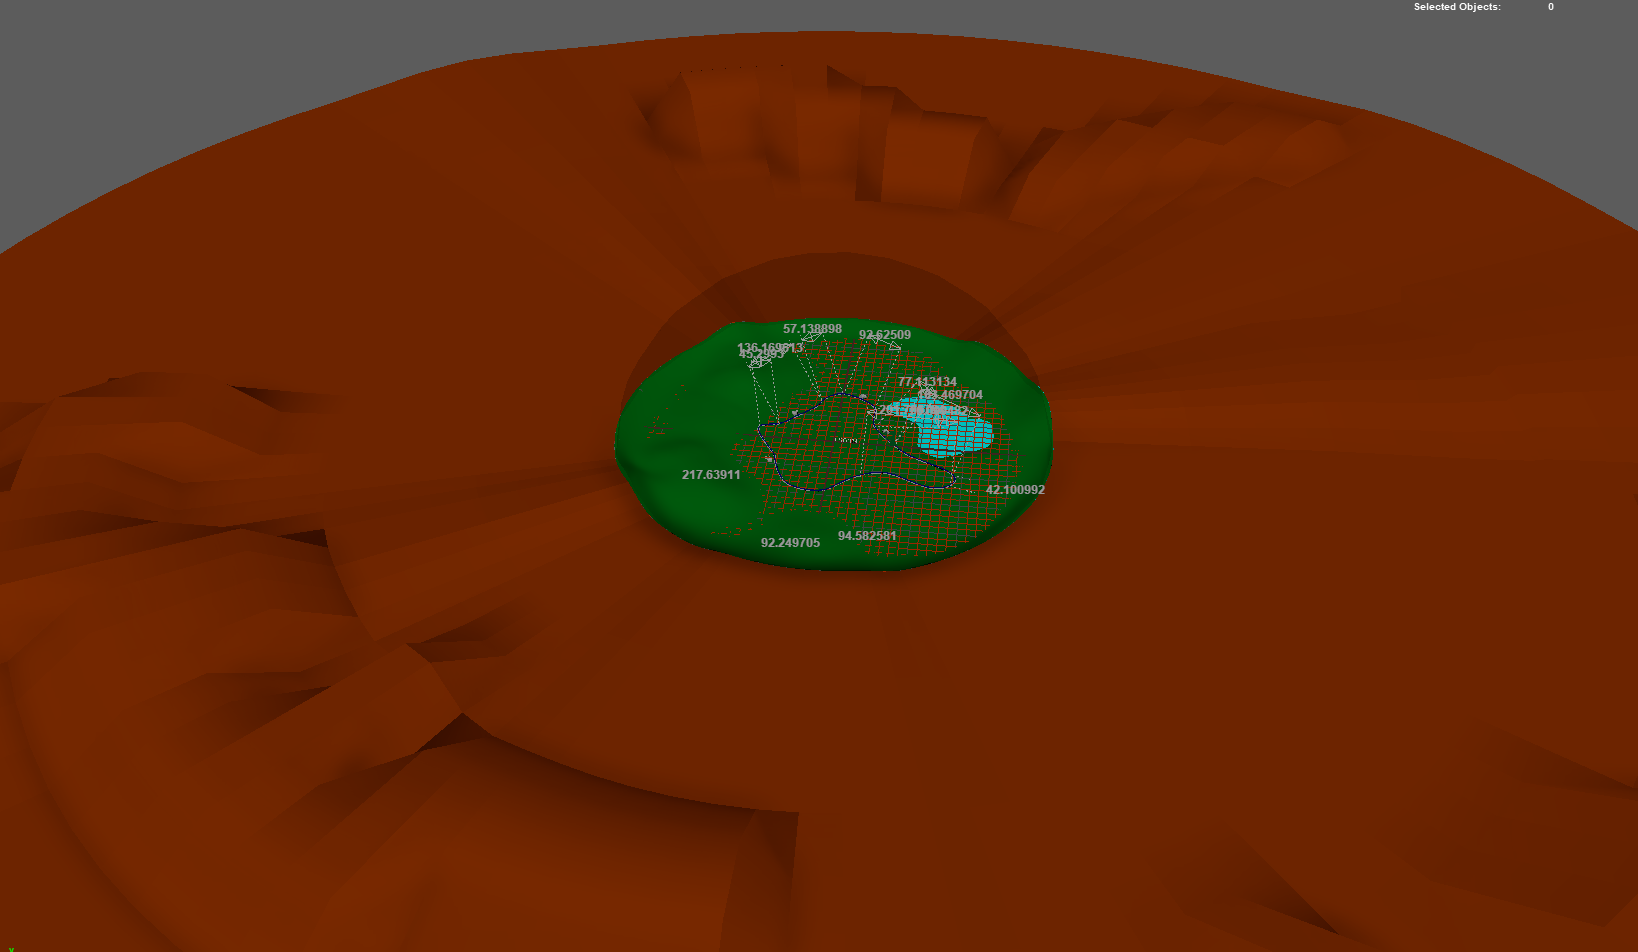
eviously have had no use for Python, so this was my first exposure to the programme language heavily utilised in the VFX industry for scripting in packages like Nuke, Houdini and Maya. When creating the roads for our Mars scene it was very tedious to keep remaking and modelling the roads going around the scene. I had to repeat the same modelling steps for each curve that I drew, and it took about 15 minutes to make each road. I knew that I could copy and paste the Maya scripts from the script editor as they are, so I tried making one road then copying the actions from the script editor then replicating that as a script but it didn't work because of the name of the curve was different for each new road I wanted to make.
I set out to learn Python scripting. It is relatively easy to learn compared to C++, and is very forgiving with its syntax. I went through tutorials made by Dhruv Govil and made an item renamer that would look at all the items I had in a scene and rename them with the correct suffix. For example, a camera called Main_angle would rename to Main_angle_camera. A mesh called robot_leg would be renamed to robot_leg_geo.
The script would only rename what I had selected or if nothing was selected it would rename everything in the scene. This taught me about selections; the DAG Hierarchy and object types. The DAG Hierarchy includes the object’s shape and transform. The shape node includes the attributes that control the geometry whereas the transform node controls the position rotation and scale of the object.
As Dhruv Govil went through each line of code, I copied the code as he explained. Dhruv also went on to make a gear creator script, which would create a gear with a set number of spokes and a certain radius. The gear could be changed and this taught me how to create geometry and edit geometry that I created with a script. After learning to make the renaming script and the gear creating script, I was ready to use that knowledge to create my own script called the Roadmaker.
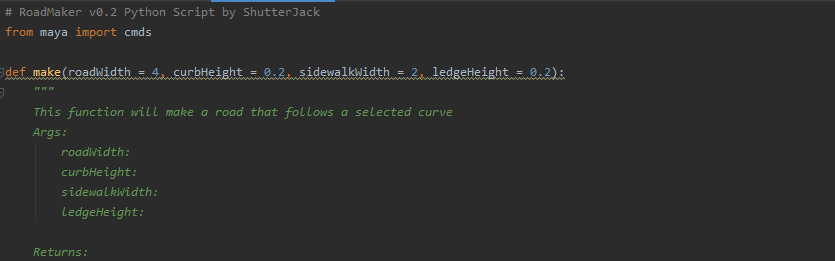
I wanted the Roadmaker script to be customisable so I can set the width of the road, the height of the curb, the height of the sidewalk and the ledge height. This script allowed me to experiment with the scene layout without having to remodel each road from scratch as I was doing initially.
At the finished stage, the script is just under 100 lines of code. The user can change the road width, curb height, sidewalk width and the ledge height. It's all command line based so there's no user interface. However, I have programmed a help feature which tells you how to use the script. The script could be made more efficient by converting the code into multiple classes and methods because currently the script is one long function. Also, it would be very useful if a function was built that could change the road after it was created so it doesn’t have to be deleted and rebuilt each time an alteration is required.
I'd like to program features that would allow the user to turn off the curb, turn off the sidewalk and turn off the ledge. That way, they could make a straight road or one with curbs and sidewalks. To tie the script together a UI with tick boxes and sliders to control the widths of the road would be beneficial.
Learning Python scripting is an excellent addition to my toolset. If I were to work in an office I could make scripts that would speed up our jobs. This would allow me to be valued more in the company because I not only speed my own work up but speed up the production of the company.
Giannicola imported lots of kitbash objects into our scene and converted the materials to AiStandards but when he converted them they all had the coat attribute set to 1.0 which made everything look black. Giannicola would have to go through 60+ shaders and change the coat value to 0.0 to fix the issue. This would have been a tedious job and wasted a lot of time. He came to me for advice, and together we worked out a script that would change all the settings in one click.
It is a very simple script that can be repurposed to change any attribute in a large selection of materials. Here is the script.
import maya.cmds as cmds
shaders = cmds.ls(sl=True, mat=True)
print shaders
for item in shaders:
cmds.setAttr(item +".coat", 0)
“import maya.cmds as cmds” is a line of code that must be at the beginning of all Python scripts for Maya. It allows Python to have access to Maya’s library of commands.
“shaders” is a variable, which is an object in the code that can remember something. I instructed Python to remember a list of materials given by the selection.
“cmds.ls” means list selection. In the brackets you can add flags. So “sl” means selection as it is set to true it only lists selected items, if it were false it would list everything in the scene. “mat” means material so it will only list materials.
“print shaders” will display the shaders variable. This will print the list of selected materials. This line is not important as it is only there as a confirmation to what has been changed.
“for item in shaders:” This is a for loop. It will create a temporary variable that is used in the for loop “item”. It means: For each item in the selected shaders do… and the “item” is a single material in the list of materials. It could have been named “material” or “obj” but the word is irrelevant.
Finally “cmds.setAttr(item +".coat", 0)” means set the coat value for the material to 0. “item” being the single material in the list called “shaders”.
Having this level of understanding of these simple lines allows for the code to be adapted to do other bulk tasks on a selection.
I often refer to the Maya Python page online (see link below) for help with flags and syntax.
http://help.autodesk.com/view/MAYAUL/2019/ENU/index.html?contextId=COMMANDSPYTHON-INDEX
While modelling the car, Jakub named the materials logical names. Like “side_window” for the side windows of the car and “metal” for the metal parts. Before I imported the car, I wanted to make all of the car materials stand out with a prefix but as there were about 20 materials for the car this would have been an lengthy task.
You know what this means! I wrote a script.
import maya.cmds as cmds
## Rename all selected shaders with a prefix
shaders = cmds.ls(sl=True, mat=True)
print shaders
for mat in shaders:
prefix = "TESLA"
shortName = mat.split("|") [-1]
newName = "%s_%s" % (prefix, shortName)
cmds.rename(mat, newName)
Digi Jack
Jakub had completed the model of the car and as a group we had to figure out how to have an actor inside the car. We considered filming somone of the greeenscreen but due to out extreme camera movements and the lack of a motion control system we decided to use a digital double.
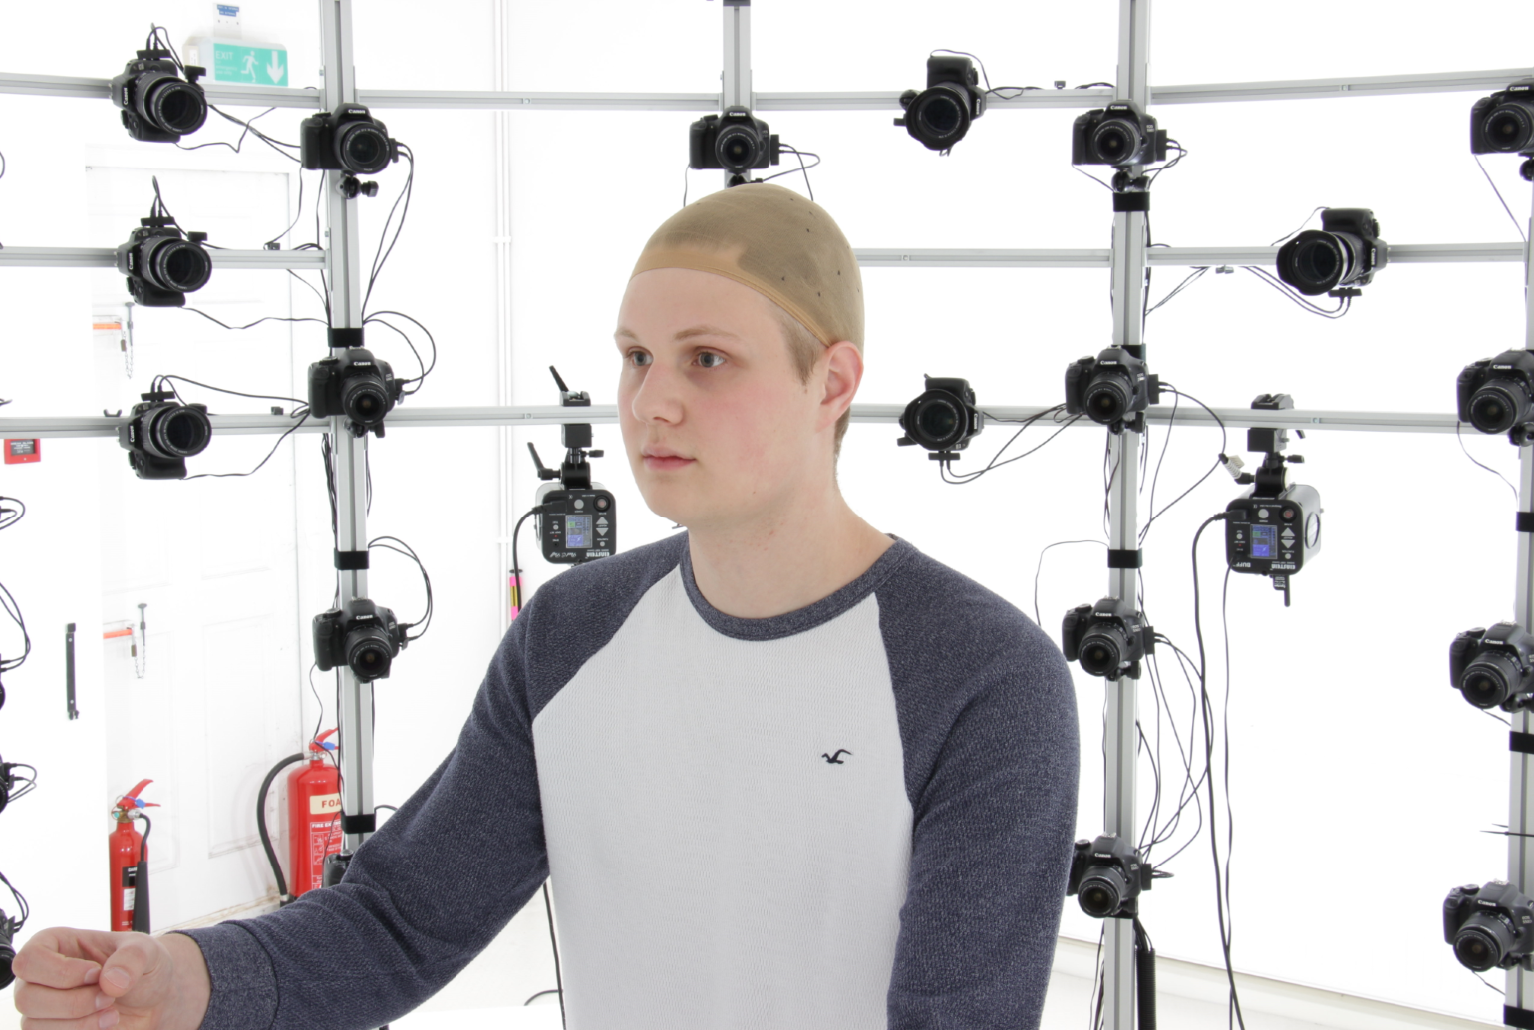
This photo is from one of the 180 Cannon DSLRs in the camera sphere. There are 9 Cannon 5Ds pointing at the face to capture high detail and the rest are 50Ds, 200Ds and a mixture of mid range Cannon DSLRs
I met James and Chris the owners of Ten24 and showed them some scans I had worked on of my girlfriend Maggie, my cousin Zoe, and myself. They were interested in my work and very helpful giving me some valuable advice like how to create a displacement map from the texture for added detail and many other tips for single camera scanning.
They even offered to scan me there and then. I was so grateful that they spared the time and the use of their equipment. They even offered to process the images, but I wanted to practice so I chose to do that myself.
Pipeline
I created a clean up pipeline which worked for me. It was largely taken from Ten24’s workflow but adapted for my tools and my skill set:
- Import images into Capturing Reality and align, set scale and centre point cloud.
- Create high poly mesh and low resolution texture map for reference later.
- Import into Zbrush to start the clean-up process.
- In Zbrush remove any parts of the mesh that aren’t wanted. Eg. stool, floor, walls or any other floating geometry
- Smooth down any major spikes but do not change geometry too much as this will result in errors in the texture map. NOTE do not destroy the UV in the cleaning process as you won’t be able to use it as reference in wrap.
- There are two options. If you’re scanning a human then use wrap. If scanning a non-humanoid object or something you don’t have a similar base mesh for, use Maya to complete Retopologizeing and UV unwrapping then skip to step fourteen
- Import the rough cleaned up model into Wrap3 by Russian 3D Scanner along with base mesh
- Match base mesh scale position and rotation to best fit the scan.
- Select poligons on base mesh which you don’t want to wrap e.g. mouth bag using the selectpoly node.
- Start making point pairs using the point pair node. Make pairs at key landmarks. Eg. eye corners, mouth corners, finger tips, etc. the more you have the more accurate the wrap will be but make sure your pairs are accurate.
- Then make sure you’re happy with the result if you need more point pairs then add them or use the brush to project further. The aim is to have the closest wrap possible to have a more accurate texture projection.
- Subdivide and wrap again for a tighter wrap.
- Export the mesh with the exact name of the exported model from Reality Capture overwriting it.
- Import that model into Reality Capture and texture it with the highest settings.
- Export textured model from Reality Capture along with texture map.
- In Wrap 3 on the first wrap node before the subdivide apply any brush clean up like removing wig cap or any other smoothing.
- Apply a symmetrise to model this will make it easier to rig.
- Export the symmetrical model.
- Rig the symmetrical model and apply texture from the Reality Capture export
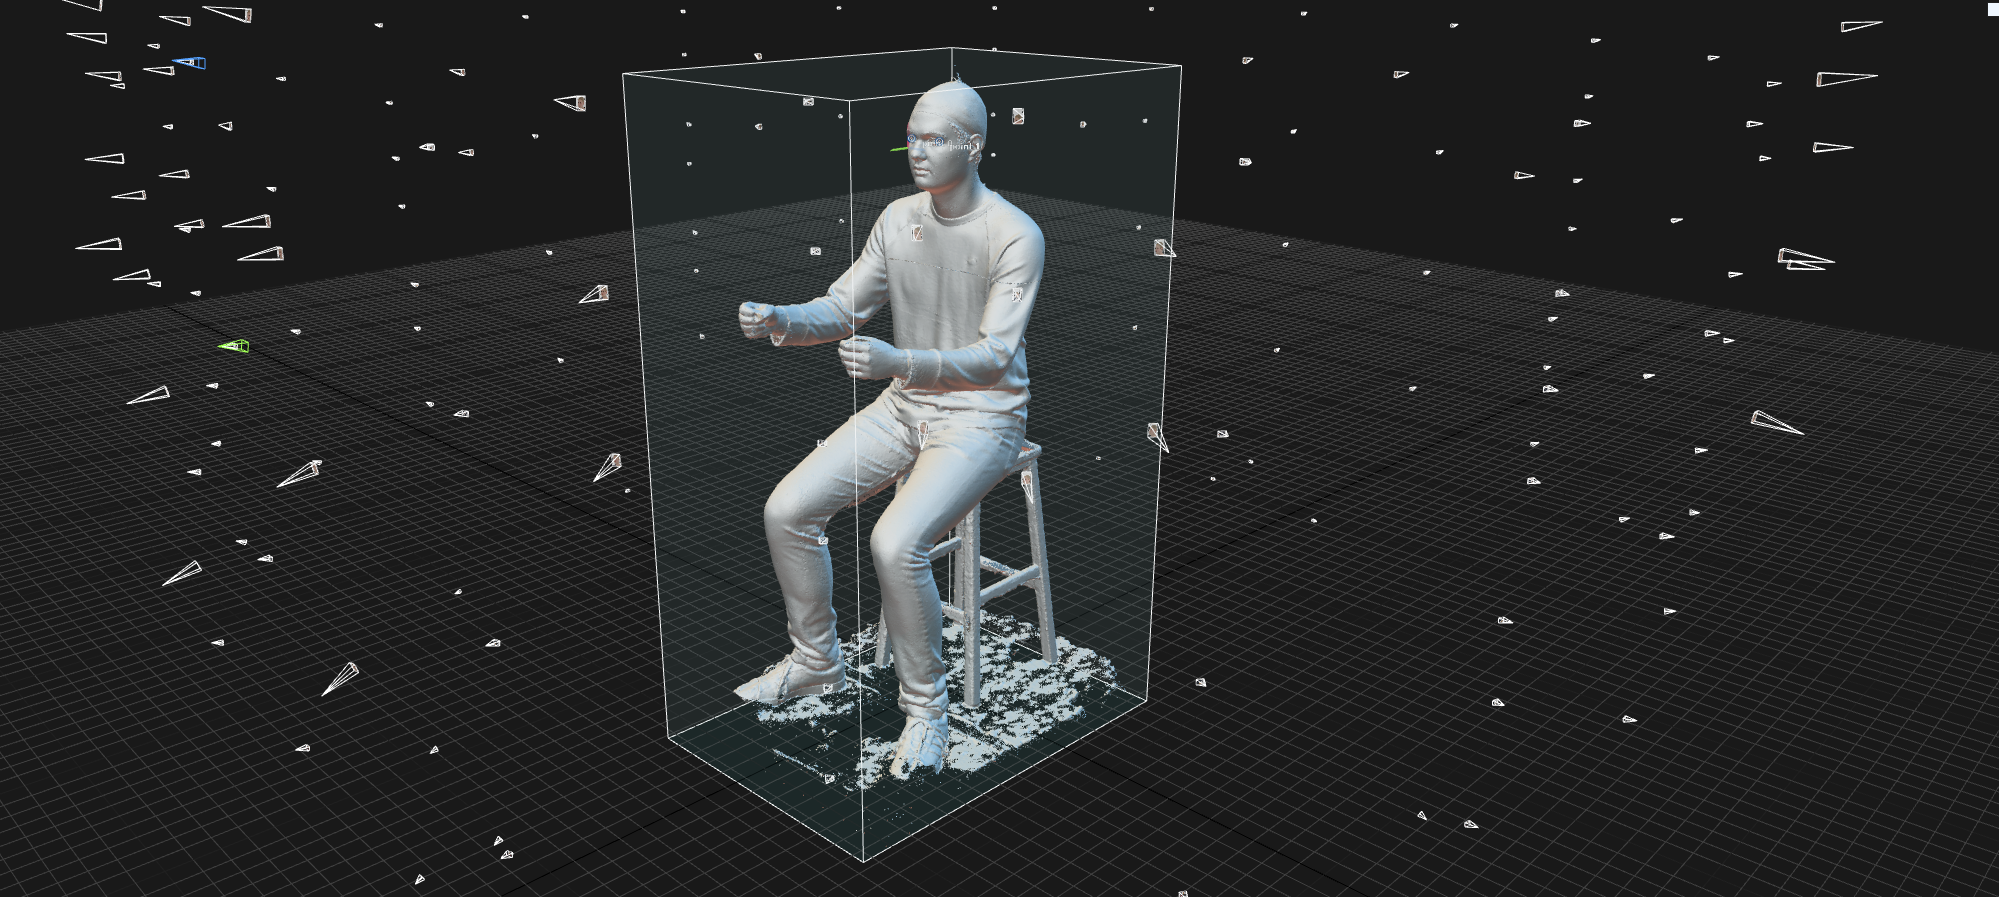
The video will show how I created the digital human.
Working with over 73,000 files, 2 terabytes of data and 9 shots.
This has been the most lengthy part of the project. I have truly found the importance of file naming and management. It would have been easier to manage the group and have all the tasks written down in one place with tools like Deadline and Shotgun.
I have been keeping a spreadsheet on all of the shots, render layers and location as well as in and out points. Since I made this it has massively helped me find the next task to complete. I can see how important the pipeline is now and how some companies, like Realtime UK have their own pipeline tools custom written for the way their team works. Even projects have a specific workflow tools are written to help the artists work better together. For example from my experience at Farm they have had a complex project where they have had to do many shots that are very similar. Matt wrote a plugin for Nuke that would speed up the four other artists: so even in small teams it can be very useful. Matt even writes extensions for Shotgun for improved sharing of work.
To save time I created a Nuke script for the most complex shot which let me replace the read node for the other shots and delete any shuffles that weren’t needed.
Using my knowledge from creating the road maker script for Maya I decided to make a Windows tool that would sort all the render files into the their correct folders. It works great when I have just been to the studio to collect render files on a portable hardrive. When I plug that hardrive into the computer at home the python tool I created reads it and copies all the EXRs from shot 1 into the correct folder on my computer and does the same with shot 2 etc.
Before I attempted this coding project I started to make a test file moving tool. I created a scenario where I have 100s of text tiles named “apple_001” “cow_001” “fish_001” with the number incrementing into the 100s. I had folders for each category of file. It was my challenge to move or copy each file into their correct folder in a single click. This was a struggle as I had never made a Python script that interacted with windows. There were a few new modules I had to research namely: OS which lets Python talk to Windows; shutil (shell utilities) which allows files manipulation functions; and fnmatch which allows filename pattern matching. Exactly what I needed.
I found out lots of this information by simply googling things like “Python look at file name” and “Python copy files”
I came across some really useful websites that explained the code functions in detail.
https://www.geeksforgeeks.org/fnmatch-unix-filename-pattern-matching-python/